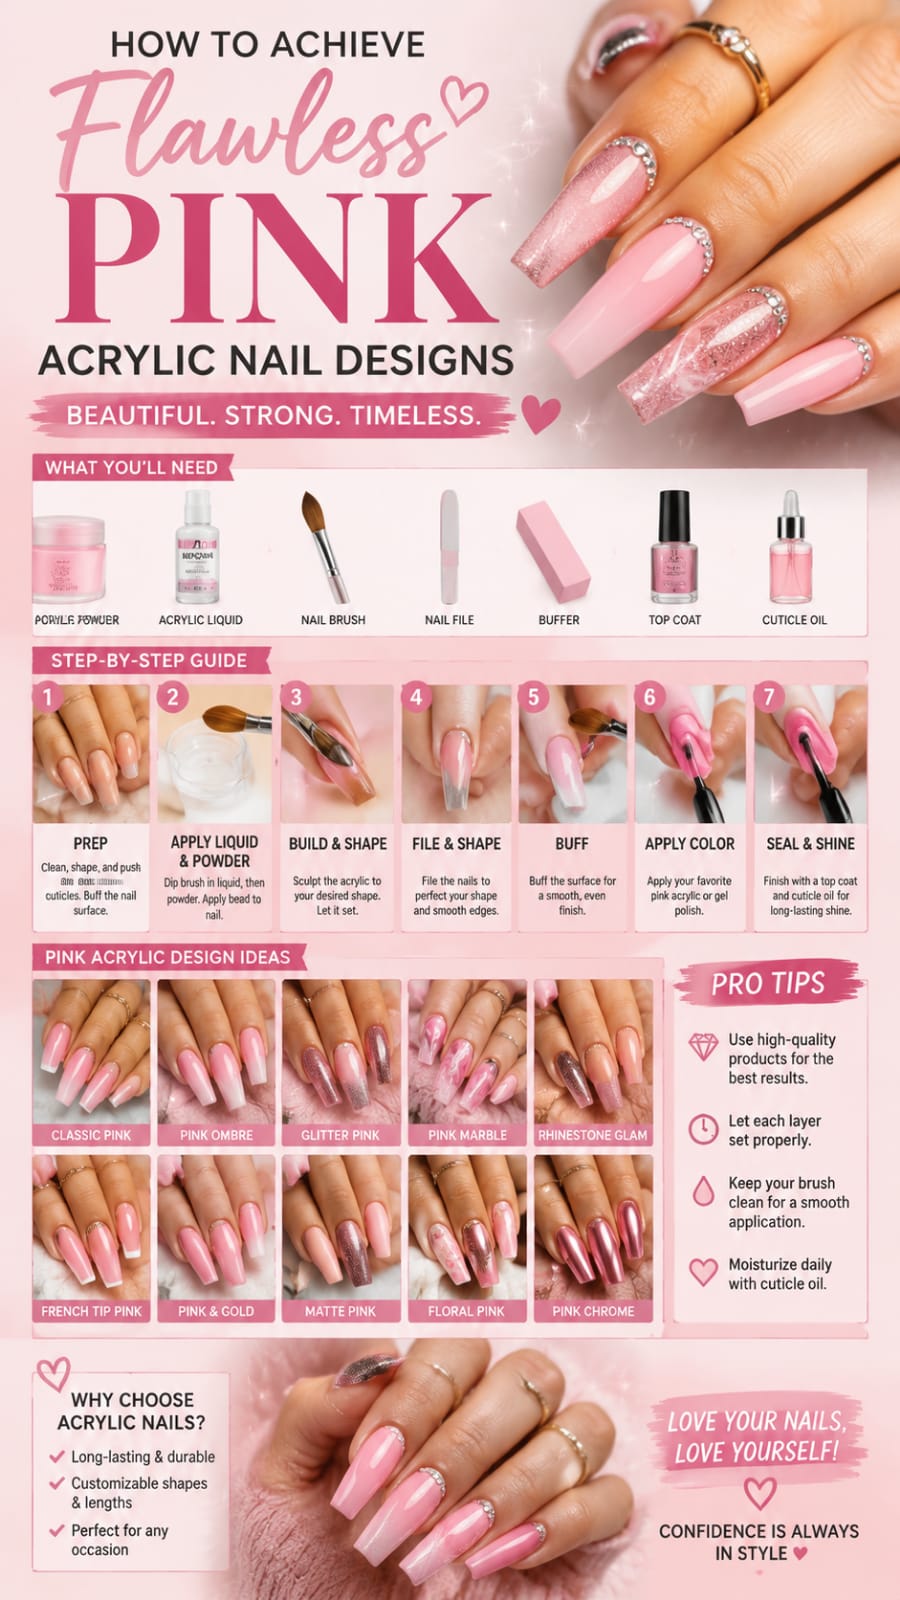
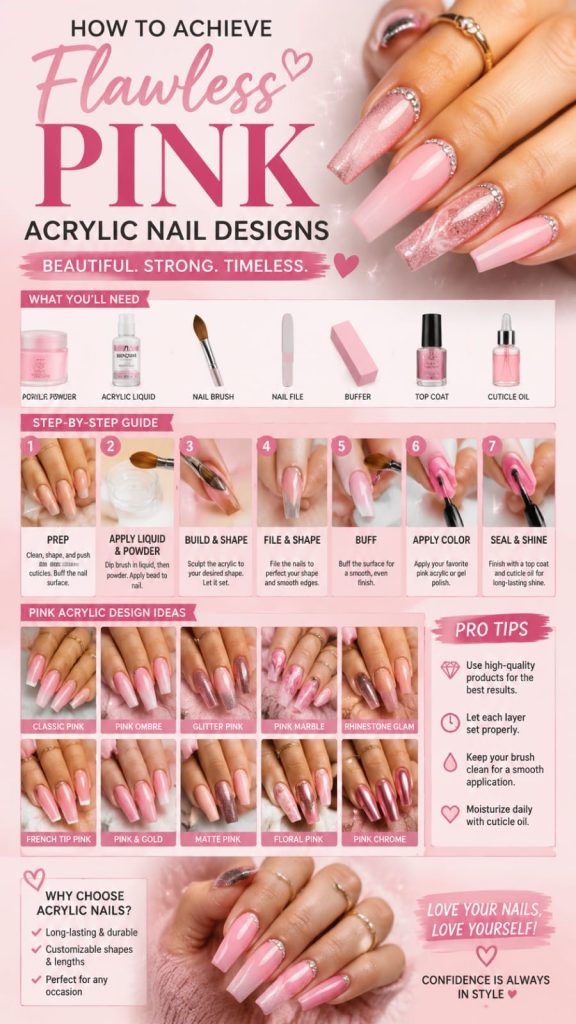
Pink acrylic nails are timeless, flattering, and incredibly versatile. They offer endless choices for subtle everyday looks, elegant office styles, or bold glam sets. This comprehensive guide helps you master pink acrylic sets at home or in the salon. You will discover professional setup tips, precise prep steps, expert application methods, and long-lasting care tricks.
The Essentials of Pink Acrylic Enhancements
Pink acrylic sets remain a classic choice for beauty lovers everywhere. The warm, inviting tones naturally complement every skin undertone across all seasons. You can pick soft blush shades, mid-tone roses, vivid neons, or deep sheer pastels. Mixing liquid monomer with polymer powder creates a durable protective shield over natural nail beds.
Understanding acrylic chemistry helps you achieve seamless, professional results. Monomer liquid binds with finely milled powder to form a workable, pliable bead. This bead hardens through air drying without needing a UV or LED curing lamp. Proper bead consistency is vital for building a smooth apex and a long-lasting free edge.
Key Takeaway: A balanced liquid-to-powder ratio ensures your set stays strong, flexible, and free of unsightly air bubbles or premature lifting.
Why Pink Enhancements Remain Popular
- Versatility: They pair effortlessly with french tips, chrome finishes, 3D art, and ombre blends.
- Durability: Acrylic strength protects fragile natural nail beds from chipping, splitting, and breaking.
- Custom Color: You can mix sheer and opaque powders for custom nude-pink tones suited to any client.
Understanding how to balance your powders allows you to manipulate color depth effortlessly. Sheer formulations create an ultra-natural look that mimics real nail health. Opaque formulations cover deep imperfections, stain lines, and natural structural flaws completely.
The Complete Tools and Safety Checklist
Before starting any application, setting up a clean, well-ventilated workstation is essential. Having the right tools within reach ensures a smooth process and prevents cross-contamination.
Working with chemical monomers requires safe handling practices. Proper ventilation keeps fumes low and protects your lungs over time.
Essential Application Equipment
- Liquid Monomer: Always choose ethyl methacrylate based formulations for natural nail safety.
- Polymer Powders: Stock clear, sheer, and opaque pink acrylic shades for varied looks.
- Kolinsky Brush: Use size 8, 10, or 12 crimped natural hair brushes for optimal fluid retention.
- Glass Dappen Dish: Heavy glass dishes hold monomer securely without melting or tipping over.
- Nail Files & Buffers: Keep 100/180 grit hand files and 240 grit soft buffers ready.
Investing in high-grade tools makes a noticeable difference in application control. Kolinsky sable hairs hold monomer fluid with high precision. Synthetic brushes often dump liquid too quickly, causing flooded cuticles and runny beads.
Understanding Skin Undertones for Pink Selection
Picking the right pink acrylic shade transforms an average set into a stunning masterpiece. The wrong shade can make hands look washed out, red, or dull.
Matching powders to skin undertones creates a harmonious, high-end look that flatters hand aesthetics instantly.
Matching Tones to Complexions
- Cool Undertones: Pink or blue skin undertones look gorgeous with soft pastel or baby pink acrylic shades.
- Warm Undertones: Golden or olive skin tones glow alongside warm peach or coral pink acrylic choices.
- Neutral Undertones: Neutral complexions can comfortably wear sheer bubblegum or classic mauve pink acrylic hues.
Take time to evaluate client skin tones in natural light. Warm indoor lighting can distort tone readings, leading to mismatched shade selections.
1. Choosing the Ideal Pink Powder and Liquid Monomer
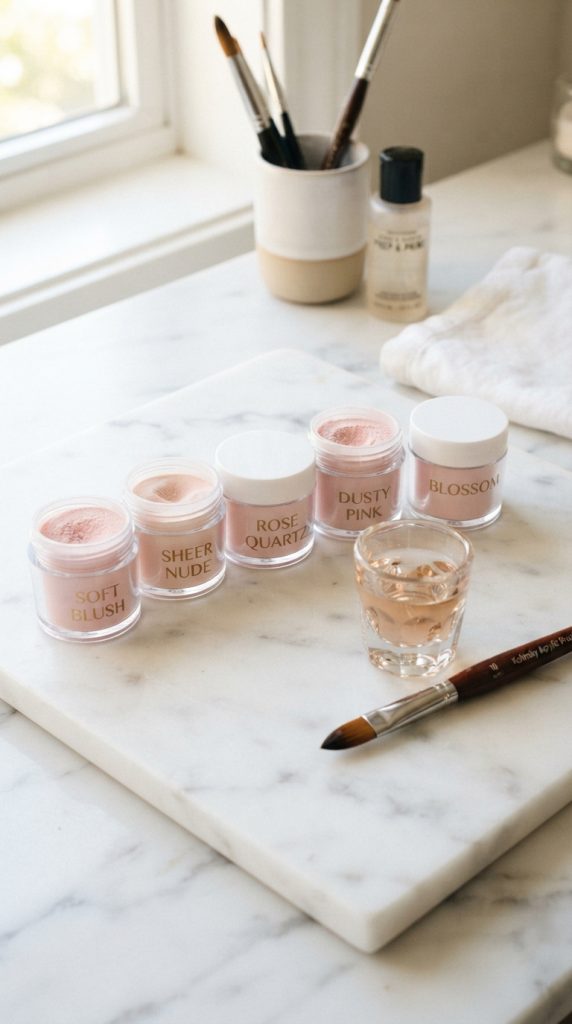
Selecting high-quality pink acrylic powders forms the foundation of a flawless set. Professional acrylic powders come in varied opacity levels, ranging from glass-like sheer to full coverage. Monomers should always be ethyl methacrylate based to ensure flexibility and safe natural nail health.
Your skin undertone guides your powder choice. Cool undertones pair best with pastel pink acrylic colors. Warm undertones shine alongside peach-tinted pink acrylic shades. Neutral undertones look stunning with classic translucent bubblegum pink acrylic formulations.
How to Select Professional Products
- Check labels for EMA monomer liquid to avoid damaging methyl methacrylate formulations.
- Select fine-milled powders that melt evenly into monomer without clumping.
- Keep clear powder ready for capping delicate nail art and glitters.
Testing Powder Opacity and Bead Flow
Place a small test bead on a plastic sheet. Observe how fast the powder absorbs liquid. The bead should hold its shape without slumping immediately. Smooth bead flow ensures simple workability around cuticles and side walls.
Observe the curing speed of your chosen liquid and powder combination. Fast-set monomers suit experienced technicians who work rapidly. Medium-set monomers give beginners precious extra seconds to mold and shape product lines.
2. Preparing Natural Nails for Maximum Adhesion
Thorough prep prevents premature lifting, moisture traps, and product breakdown. Clean natural nails allow pink acrylic overlays to grip the plate securely. Start by washing hands with non-moisturizing soap to remove surface oils.
Gently push back cuticles using a sanitized metal pusher or wooden stick. Never cut living cuticle tissue; focus only on lifting non-viable pterygium off the nail plate. Clean cuticles ensure seamless pink acrylic placement near the eponychium.
Step-by-Step Natural Nail Prep Method
- Sanitize hands and nails with a dedicated prep spray.
- Gently remove surface shine using a 240-grit buffer in one direction.
- Dust off debris with a clean, dry manicure brush.
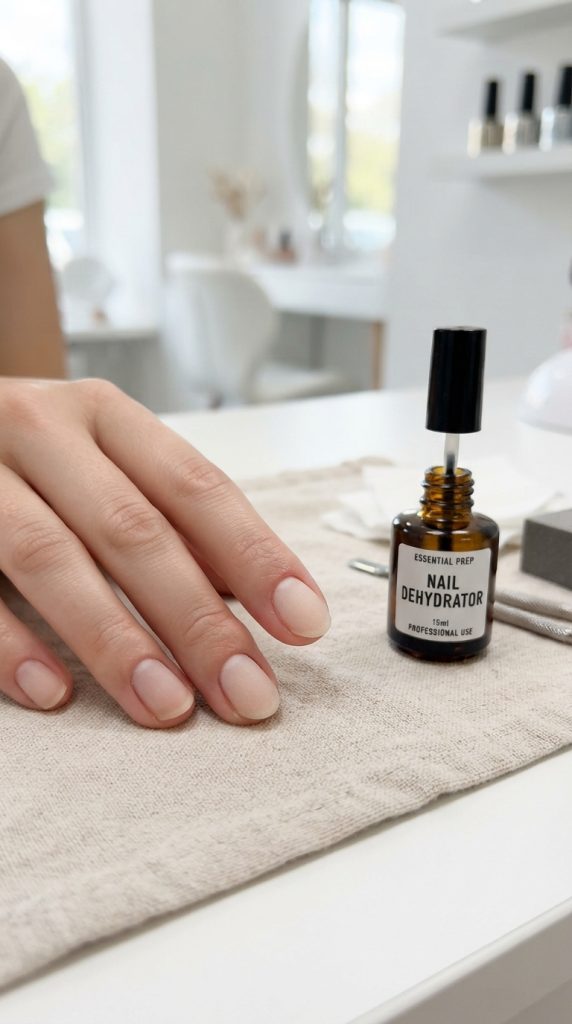
- Apply dehydrator liquid across all ten nail plates.
- Apply acid-free primer sparingly to protect natural nail health.
Protecting the Natural Moisture Barrier
Avoid over-filing natural nails during prep. Deep file grooves weaken the nail plate and cause painful thermal burn when acrylic cures. A light etched texture provides plenty of mechanical grip for pink acrylic systems.
Dehydrators temporarily remove surface water and natural lipids from the keratin plate. Allow dehydrator spray or liquid to evaporate fully before laying down primer. Primer acts as double-sided tape, creating chemical bonds between natural keratin and fresh monomer.
3. Sizing and Applying Forms versus Nail Tips
Deciding between nail forms and plastic tips shapes the overall outcome of your set. Plastic tips provide quick length and consistent shape guides for beginners. Sculpting forms allow complete custom shaping that wraps around natural finger contours.
When using tips, size each finger accurately. A tip that is too small pinches the nail bed and lifts easily. A tip that is too large overlaps soft tissue, causing irritation and early breakdown.
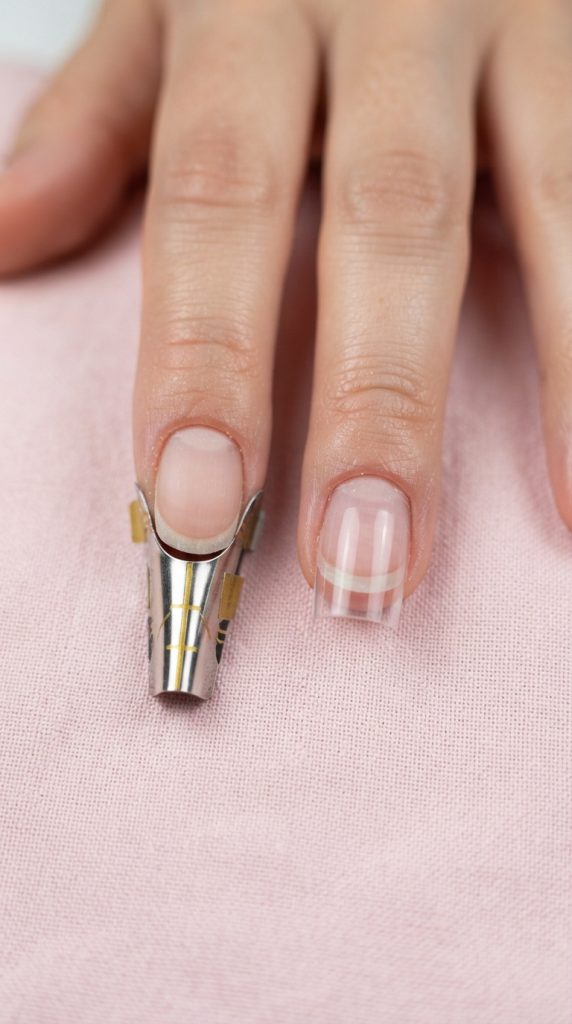
How to Apply Tips Perfectly
- Select tips that match side wall to side wall without pressing down hard.
- Apply a tiny dot of resin glue to the tip well.
- Rock the tip onto the natural edge at a forty-five degree angle to avoid bubbles.
- Hold firm pressure for ten seconds until fully set.
- Blend the tip seam using a fine file until smooth.
Shaping the Foundation Before Acrylic Placement
Trim tips to your desired length using a tip cutter. File side walls parallel to create clean almond, square, or coffin silhouettes. A crisp foundation shape makes applying pink acrylic much faster and smoother.
When using sculpting forms, fit the paper form snugly under the natural free edge. Ensure there are no gaps where wet acrylic can leak through. Tailor the form tabs to fit individual hyponychium curves precisely.
4. Master the Liquid-to-Powder Ratio
Mastering bead consistency is the most important skill in acrylic application. A wet bead runs into cuticles, causing instant lifting and skin contact. A dry bead dries too fast, leaving chalky spots and weak structure.
Dip your kolinsky brush completely into fresh monomer. Wipe excess liquid against the dappen dish rim. Tap the brush tip into pink acrylic powder at a forty-five degree angle for three seconds to pick up a smooth bead.
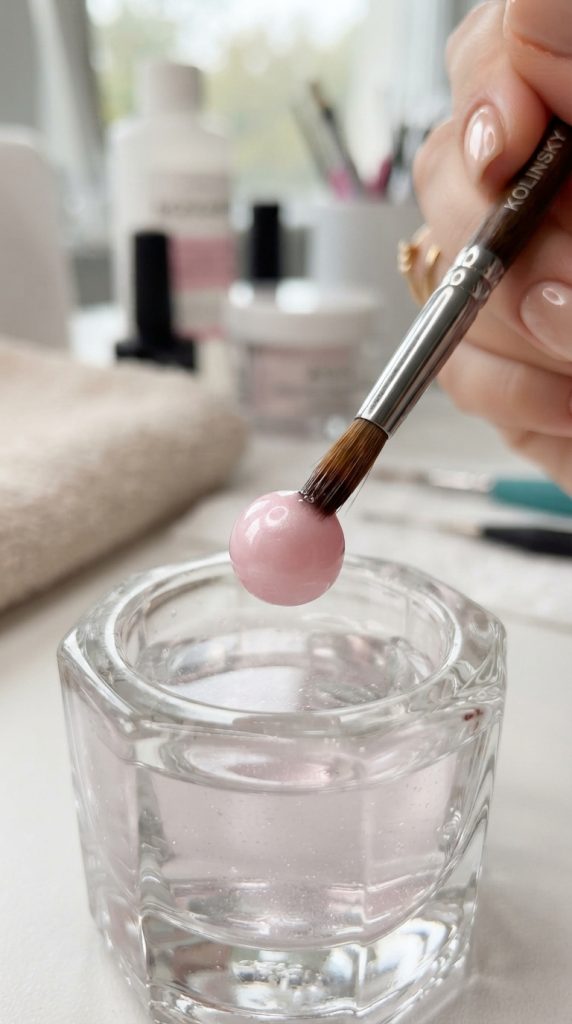
Three-Zone Bead Placement Method
- Zone 1 (Free Edge): Place a medium bead to build edge length and thickness.
- Zone 2 (Stress Point): Place a larger bead to build a strong supporting apex.
- Zone 3 (Cuticle Area): Place a small, wetter bead to feather smoothly toward cuticles.
Ways to Practice Bead Control
Practice picking up uniform beads on laminated paper charts. Adjust brush wetness until every pink acrylic bead rests like a smooth pearl. Consistent beads mean less filing later in your routine.
Temperature deeply influences how fast your bead sets up during application. Cold rooms slow monomer curing times down, making wet beads runny. Warm environments accelerate curing, forcing you to work at high speeds.
5. Building the Structural Apex for Longevity
The apex is the highest point of strength on an acrylic extension. It sits over the natural stress area where the nail bed meets the free edge. Without a proper apex, pink acrylic enhancements snap easily under daily stress.
Look at the nail from the side profile to check apex height. The surface should curve gently from cuticle to tip without lumpiness. The cuticle area and free edge should remain thin and sleek.
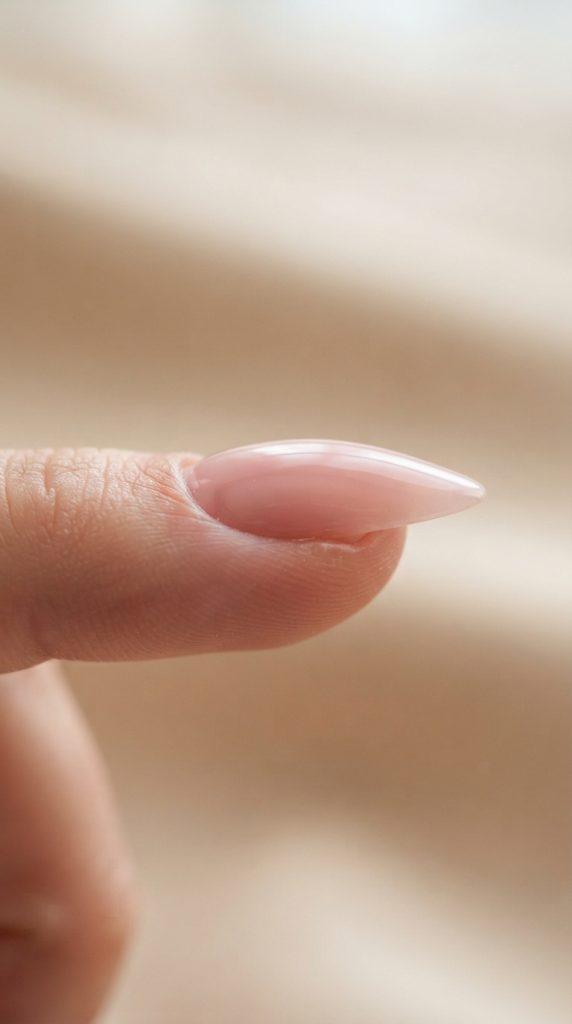
How to Build a Strong Apex
- Pick up a medium pink acrylic bead with medium liquid saturation.
- Place the bead directly on the stress area in the center of the nail.
- Pat the bead gently side to side to cover the width.
- Feather the top edge toward the cuticle softly.
- Pull the remaining product down toward the free edge smoothly.
Avoiding Common Structural Errors
Never build the apex too high or place it too close to the cuticle. A misplaced apex creates top-heavy balance, causing painful tears if the nail impacts something hard. Keep pink acrylic weight centered properly.
Longer nails demand higher, thicker apex structure to absorb heavy leverage stress. Shorter active nails need only subtle apex curves to stay resilient and break-resistant.
6. Perfecting the Cuticle Area to Prevent Lifting
Lifting near cuticles happens when product touches soft skin or stays too thick. Pink acrylic must taper down into a whisper-thin edge near the eponychium. This flush transition prevents hair snagging and water damage.
Keep a tiny margin between acrylic product and living cuticle skin. A tiny fraction of a millimeter space keeps skin happy while looking completely seamless.
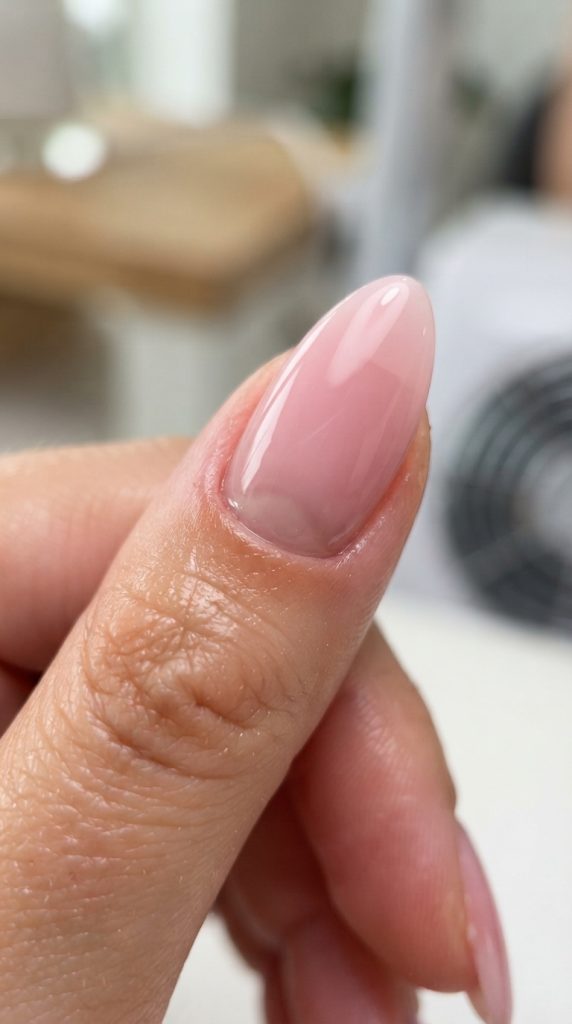
Tapering Methods for a Flush Finish
- Place a small, wetter pink acrylic bead near the cuticle area.
- Angle the finger downward so gravity pulls product away from skin.
- Use the point of your brush to press the bead edge flat.
- Sweep product gently down toward the body of the nail.
Cleaning Up Accidental Skin Contact
If wet pink acrylic touches cuticle skin, wipe it off immediately with a monomer-soaked brush. Once product hardens on skin, it creates an entry pocket for water, bacteria, and lifting.
Cuticle seal bits on electric files help refine flush transitions after drying. Run smooth bits at low speed to smooth away tiny microscopic ledges near living skin.
7. Precision Filing and Surface Smoothing
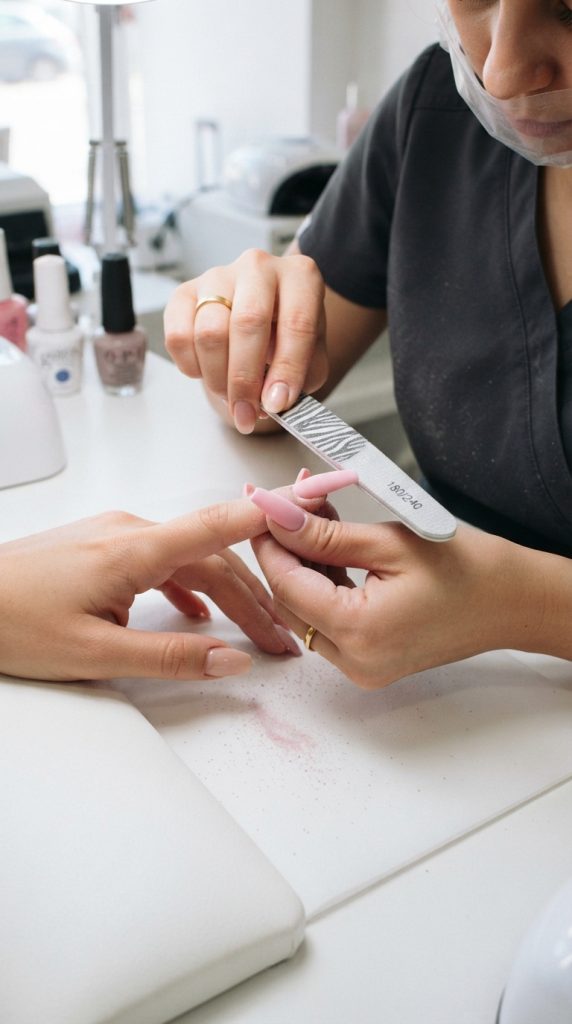
Filing brings out crisp structural lines and a smooth surface. Wait until pink acrylic clicks firmly when tapped with a brush handle before filing. Soft product clogs files and ruins shape geometry.
Use a 100/180-grit hand file for structural shaping and a fine bit e-file for cuticle refinement. Hold files parallel to side walls to preserve straight lines and balanced symmetry.
Complete Hand Filing Sequence
- File free edges square, coffin, or almond with long parallel strokes.
- Angle file along side walls to taper edges toward the center.
- Round surface contours gently to maintain a balanced apex shape.
- Refine the cuticle area using a fine hand file at a low angle.
- Smooth file scratches with a 180-grit buffer block.
Using an E-File Safely
Run a safety-top bit at low speeds around the cuticle zone. Keep the bit moving constantly without pressing down into natural nail beds. Clean beveling blends pink acrylic flush into natural growth.
Check hand symmetry frequently by flipping hands toward you. Looking from the wearer’s angle highlights structural unevenness, uneven side walls, or tilted free edges instantly.
8. Encapsulation and Nail Art Techniques
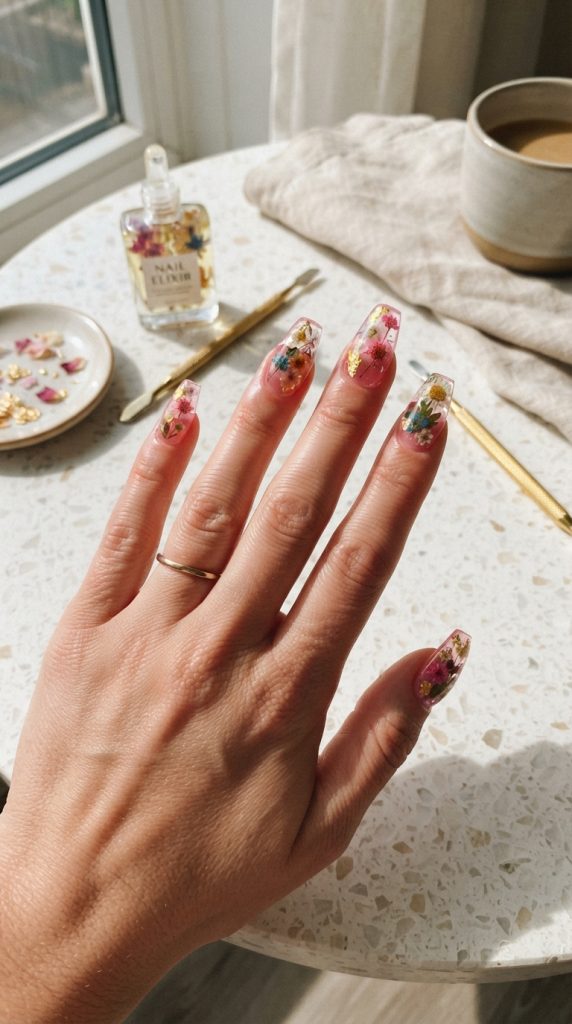
Pink acrylic forms a gorgeous canvas for endless nail art styles. You can encapsulate dried flowers, iridescent foils, or chunky glitters inside translucent pink acrylic layers. Ombre fades and french designs also look incredible over pink bases.
Encapsulation preserves delicate art beneath a crystal-clear layer. This protects dynamic artwork from everyday wear, acetone exposure, and hand washing.
How to Create a Pink Ombre Style
- Apply a white acrylic bead to the free edge tip.
- Blend the white product upward toward the center stress area.
- Place a translucent pink acrylic bead near the cuticle zone.
- Feather the pink shade down over the white transition line smoothly.
- Cap the blended zone with clear acrylic to preserve the fade.
Ways to Add Gel Art over Pink Bases
Wipe dust off shaped acrylic with alcohol before adding gel paint. Draw french lines, swirls, or chrome designs directly onto smoothed pink acrylic surfaces. Cure gel art completely before applying top coat.
When working with heavy glitter encapsulation, keep base layer pink acrylic thin. Adding heavy glitter over thick foundations results in bulky, unmanageable final shapes.
9. Advanced French Tip Variations on Pink Bases
A classic french tip on a soft pink base is timeless. Modern techniques allow you to upgrade this style with colored tips, metallic lines, or double arches.
Creating crisp smile lines requires steady hands and correct product control.
Building a Deep Smile Line
- Sculpt a high-wall pink acrylic nail bed using cover pink powder.
- Carve a sharp smile line arch using the edge of your acrylic brush while wet.
- Allow the pink acrylic bed to harden completely before placing tip color.
- Fill the free edge tip zone with stark white or colored acrylic.
- File the entire surface flush to reveal a razor-sharp smile line transition.
Deep smile lines elongate short nail beds visually. Extend the pink acrylic base further down short beds to give the illusion of long, slender fingers.
10. Top Coat Application and High-Shine Finishing
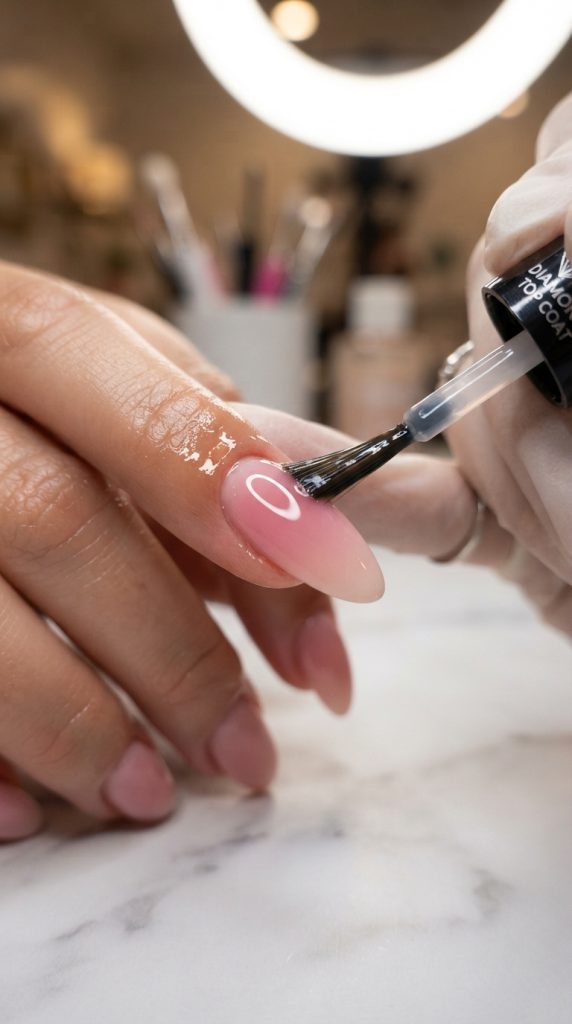
A durable top coat seals your set, prevents staining, and boosts high-gloss shine. You can choose a glossy gel top coat for glass-like reflections or a matte finish for velvet appeal.
Thorough dust removal ensures a crystal-clear finish. Dust particles trapped under gel top coat leave rough bumps on smooth pink acrylic surfaces.
Steps for a High-Shine Gel Finish
- Scrub filed nails with isopropyl alcohol and a lint-free wipe.
- Apply a thin layer of tack-free gel top coat from cuticle to tip.
- Cap the free edge to lock length against chipping.
- Cure under a UV/LED lamp for sixty seconds.
- Allow nails to cool for thirty seconds before applying cuticle oil.
Choosing Between Matte and Glossy Finishes
Glossy finishes highlight deep multidimensional sparkle and smooth pink acrylic blends. Matte top coats create a soft, modern contrast that looks gorgeous on coffin or almond shapes.
Never touch newly cured top coats immediately after lamp removal. Allowing top coats to cool prevents dulling, smudging, or fingerprint marks on clear surfaces.
11. Infill Maintenance and Safe Removal Methods
Maintaining pink acrylic sets every two to three weeks keeps natural nails healthy and balanced. As natural nails grow, the apex shifts forward, creating imbalance and stress on the natural bed.
Infills fill growth gaps near cuticles while restoring structural balance. Safe removal methods prevent natural nail thinning and painful tearing.
Step-by-Step Infill Routine
- File off top coat and smooth out old lifted material.
- Prep exposed natural growth with dehydrator and acid-free primer.
- Place a small pink acrylic bead into the growth gap near cuticles.
- Blend new product seamlessly into old existing acrylic structure.
- Rebalance apex height, shape side walls, and apply fresh top coat.
Safe Soak-Off Removal Process
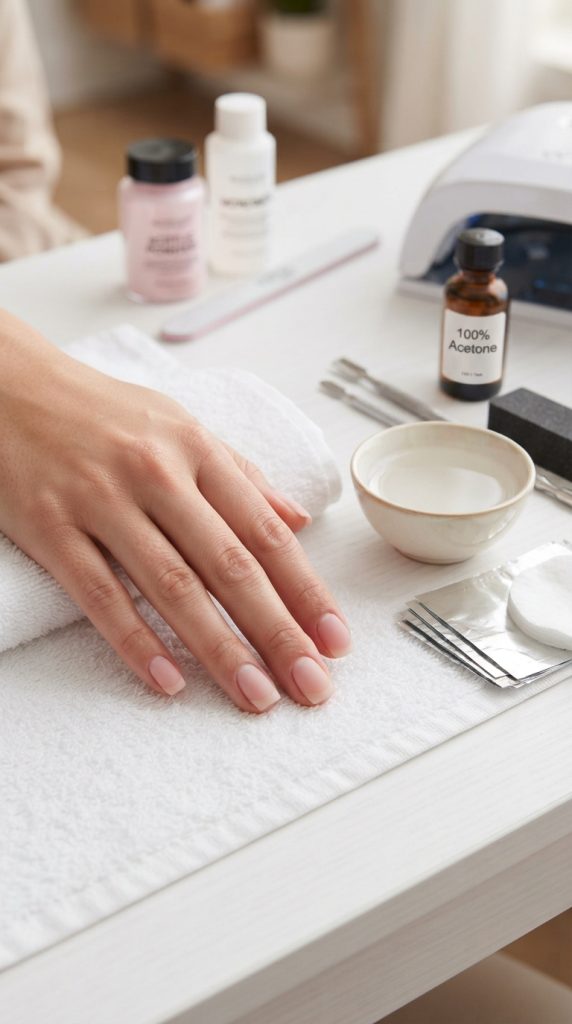
Never pry or pick off pink acrylic enhancements. Trim length, break top coat seal with a coarse file, and soak nails in pure acetone for twenty minutes. Gently scrape softened product away using a wooden stick.
Scrapes should be soft and effortless during removal. If acrylic remains hard, re-soak nails in warm acetone for an additional ten minutes until fully gelatinized.
Troubleshooting Common Acrylic Issues
Even seasoned technicians encounter set challenges. Knowing how to fix mistakes quickly keeps your work looking pristine.
Understanding why errors happen helps you refine technique and prevent future application flaws.
Common Problems and Quick Fixes
- Air Bubble Traps: Occur from whipping the monomer brush too fast. Dip gently without agitation.
- Yellowing Product: Triggered by MMA monomers or excessive UV exposure. Use high-grade EMA monomer.
- Brittle Structure: Caused by overly dry bead ratios. Increase liquid content slightly for elasticity.
- Clogged Brushes: Dried acrylic in bristles needs soaking in fresh monomer, never pure acetone.
Clean brushes promptly during service using fresh monomer liquid. Acetone strips natural oils from kolinsky bristles, leaving them frayed, dry, and unusable over time.
Understanding Curing Physics and Temperature Sensitivity
Chemical curing in liquid and powder systems relies on exothermic reaction kinetics. As liquid monomer reacts with benzoyl peroxide initiators in powder, heat releases naturally.
Managing temperature prevents uncomfortable heat spikes for clients with thin or sensitive natural nail beds.
Controlling Exothermic Heat Reactions
- Use balanced, medium-wet bead ratios rather than soaking wet applications.
- Apply product in thin, controlled layers rather than one massive structural bead.
- Keep room temperatures comfortable, around seventy degrees Fahrenheit.
- Choose medium-setting liquid monomers to stabilize reaction speeds.
If clients feel sudden warmth during application, press firm finger pressure underneath the free edge. This absorbs excess thermal energy and relieves discomfort rapidly.
Nighttime Care and Daily Maintenance Rules
Protecting pink acrylic sets daily keeps them looking fresh for weeks. Simple protective habits prevent lifting, discoloration, and structural stress.
- Wear Protective Gloves: Use rubber gloves while cleaning, washing dishes, or working with harsh household chemicals.
- Hydrate Daily: Apply rich cuticle oil twice a day to keep surrounding skin supple and flexible.
- Avoid Mechanical Stress: Never use nails as tools to open cans or scrape surfaces.
- Keep Clean: Use a soft nail brush to clean under free edges during daily hand washing.
Hydrated cuticles hold artificial enhancements securely. Dry, cracked skin peels away from acrylic borders, creating open entry channels for dirt and moisture.
Product Ingredient Breakdown for Acrylic Systems
Understanding ingredients in pink acrylic liquids and powders protects health and ensures quality sets.
| Ingredient Type | Function in System | Health Impact & Safety Notes |
| Ethyl Methacrylate (EMA) | Liquid monomer binder | Safe professional standard for liquid monomer systems. |
| Polyethylmethacrylate | Polymer powder base | Creates flexible, durable pink acrylic beads when mixed. |
| Benzoyl Peroxide | Powder initiator | Triggers air curing process when mixed with liquid. |
| Titanium Dioxide | Color pigment | Provides opacity and soft pink shade variations. |
Read product safety data sheets thoroughly when purchasing new brand lines. Professional manufacturers detail exact chemical purities and monomer stability levels clearly.
Frequently Asked Questions
Why is my pink acrylic lifting after a few days?
Lifting happens due to incomplete natural nail prep, residual oils, or product touching cuticle skin. Ensure natural nails are dehydrated, primed, and kept clear of wet acrylic around cuticles.
Can I mix different powder and liquid brands?
It is best to use monomer and pink acrylic powders from the same manufacturer line. Mixing brands disrupts curing times, strength ratios, and color clarity.
How long should a pink acrylic set last?
A well-applied set lasts two to three weeks before needing an infill. Regular infills maintain structural balance and keep natural nails growing safely underneath.
Why does my pink powder look cloudy after drying?
Cloudiness usually stems from using a dry liquid-to-powder ratio or dipping into contaminated monomer. Keep dappen dishes clean and maintain wet, glossy bead balance.
Can I apply gel polish over pink acrylic sets?
Yes, gel polish adheres wonderfully to smooth acrylic surfaces. File the acrylic smooth, wipe away dust, apply color, and seal with gel top coat.
Leave a Reply