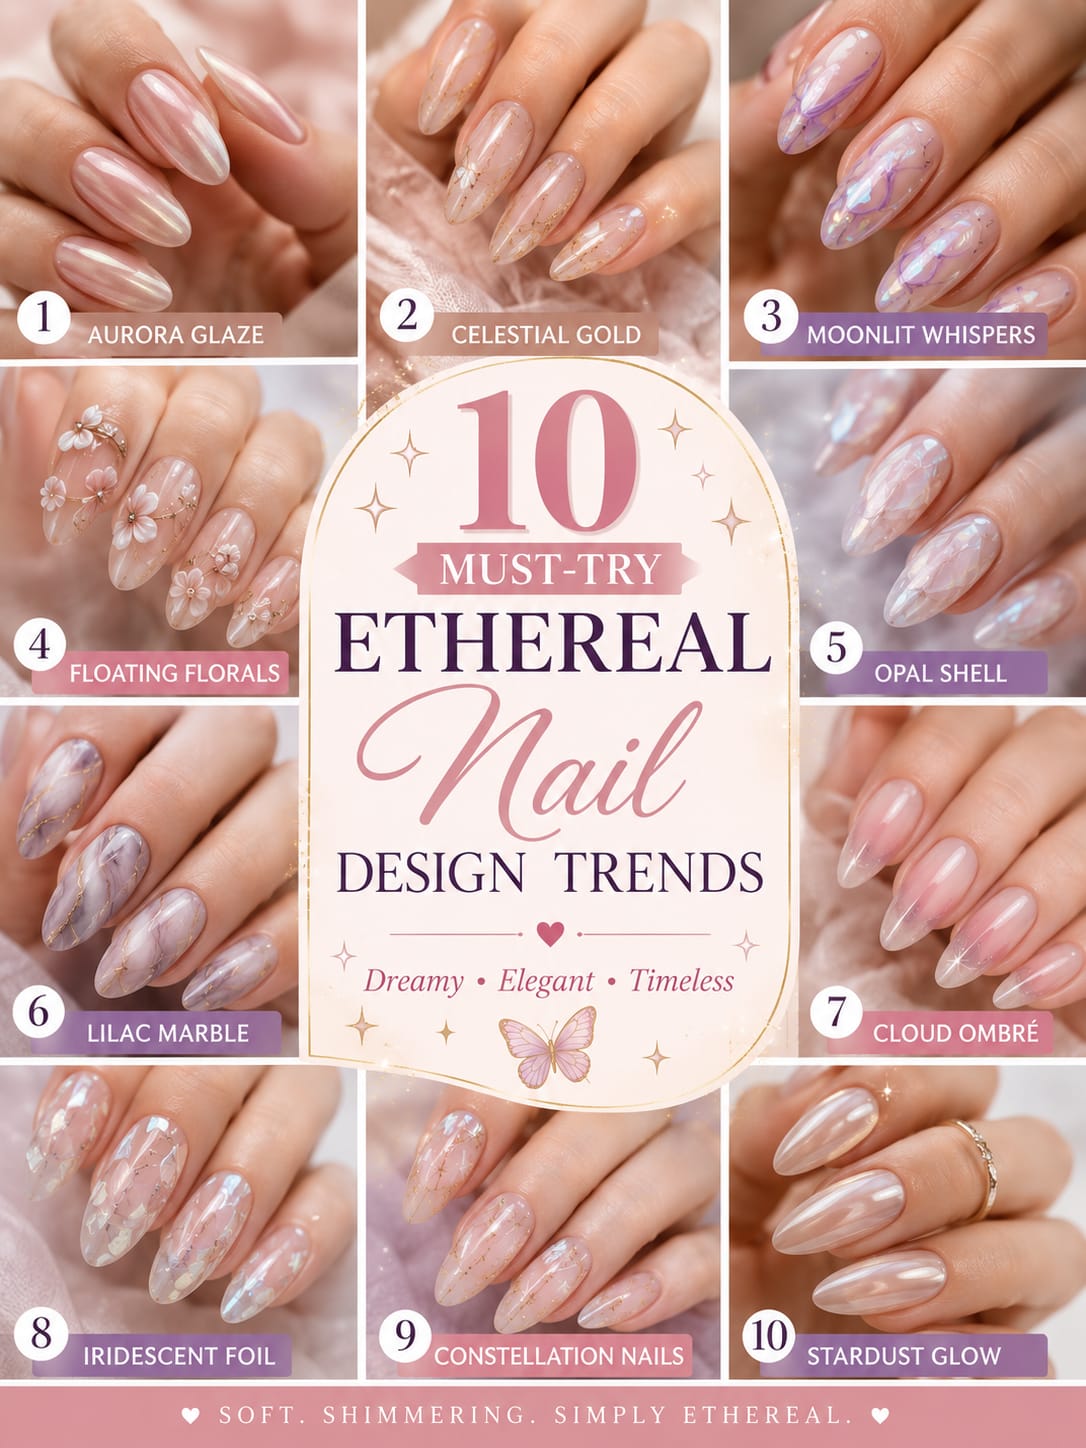
Entering the world of whimsical beauty requires a touch of magic at your fingertips. Selecting an ethereal nail design can instantly transform your hands into a stunning, dreamlike masterpiece. These celestial aesthetics lean heavily on soft textures, translucent finishes, and light-reflecting elements. They evoke a powerful sense of mystery, grace, and otherworldly elegance for any special occasion.
Achieving a truly weightless, heavenly appearance depends completely on utilizing modern, innovative manicure products. Many style enthusiasts want an artistic look that remains deeply sophisticated rather than overly flashy. This comprehensive guide details ten phenomenal aesthetic movements that bring fantasy elements into daily life. Let us explore these gorgeous, trendsetting concepts to elevate your personal style immediately.
1. Cosmic Aurora Shimmer and Translucent Velvet Textures
The mesmerizing beauty of the northern lights can now live directly on your fingertips. This breathtaking style combines magnetic polishes with translucent colors to mimic shifting cosmic gases. The light catches the microscopic metallic particles to create a beautiful, deep three-dimensional illusion. It gives your hands a glowing, otherworldly quality that looks completely different from every single angle.

Methods to Create the Aurora Glow
- Apply a Sheer Base: Start by painting a highly translucent layer of soft lavender or baby blue gel.
- Layer the Magnetic Polish: Paint a thin layer of specialized cat-eye polish over the uncured sheer base.
- Activate the Shimmer: Hover a strong magnet over the surface to disperse the metallic particles into waves.
- Seal the Magic: Cure the layer immediately under a UV lamp to lock the fluid movement in place.
This beautiful option looks exceptionally graceful on longer almond or oval fingertip shapes. It brings an instant touch of magic to your everyday routine without requiring complex hand-painted artwork. The soft texture illusion softens your overall look, making it a highly requested option in modern salons. It is an ideal introduction to celestial styling.
2. Floating Celestial Elements with Delicate White Ink Stars
Embrace the infinite wonders of the night sky by adding minimalist astronomical constellations to your manicure. This specific nail design relies on contrast between an ultra-clear background and crisp, delicate white lines. Tiny starbursts, crescent moons, and micro dots are painted meticulously across the surface. It resembles a delicate vintage star map designed for stargazers and romantic dreamers alike.
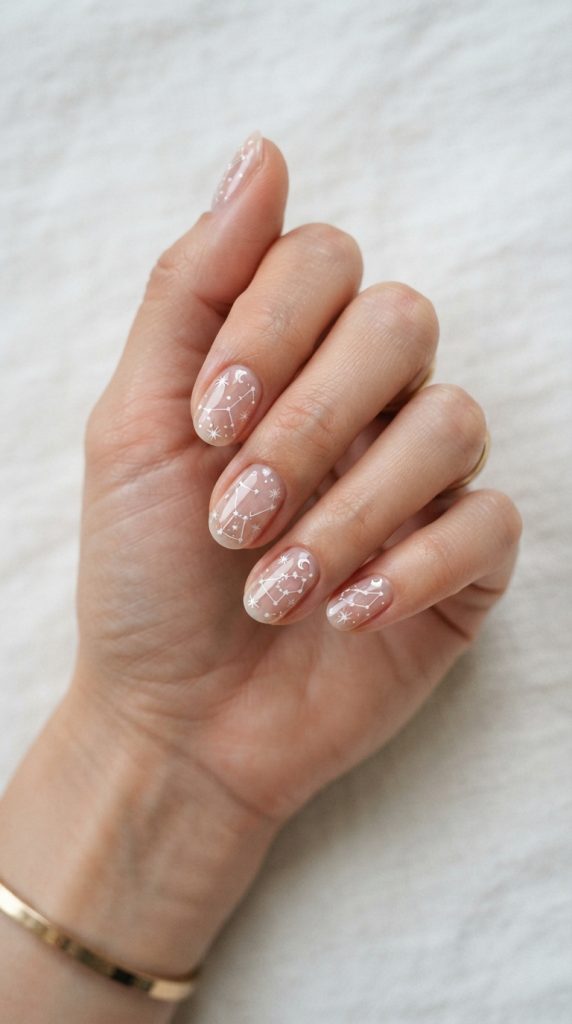
Steps for Painting Intricate Celestial Art
- Create the Negative Space: Apply an ultra-clear, high-gloss base coat to keep the natural background visible.
- Sketch the Moon: Use an ultra-fine detailing brush dipped in white gel paint to draw a crescent moon.
- Dot the Constellations: Place micro dots across the surface using a precise dotting tool dipped in white ink.
- Connect the Lines: Draw hair-thin lines to connect the dots into beautiful, authentic zodiac constellation patterns.
This minimalist approach ensures the final look remains incredibly clean, crisp, and high-fashion. It avoids looking cluttered by allowing the natural surface color to breathe completely underneath the white art. You can wear this versatile look to corporate offices and whimsical outdoor weekend festivals with equal confidence. It showcases a beautiful appreciation for detailed luxury craftsmanship.
3. Iridescent Unicorn Chrome Over Soft Milky White Foundations
The glazed, pearlescent finish continues to capture the imagination of beauty lovers across the globe. By buffing a fine unicorn chrome powder over a semi-translucent milky base, you achieve a heavenly radiance. The surface reflects subtle pink, green, and gold shifts whenever your hands catch the natural daylight. It mimics the beautiful, fluid sheen of mother-of-pearl shells found in deep ocean waters.
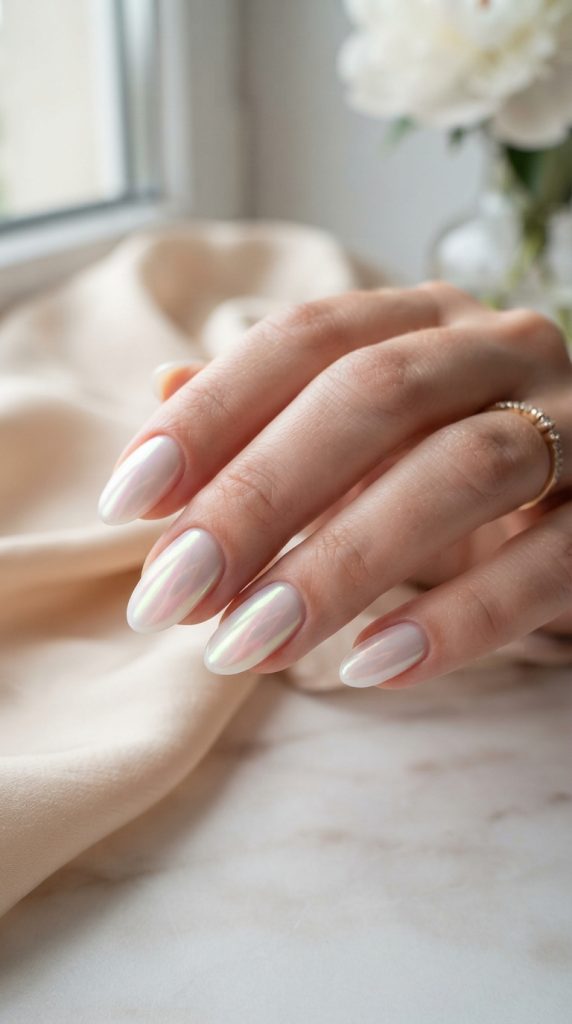
Ways to Master the Chrome Application
- Build the Milky Canvas: Paint two thin coats of a semi-sheer, milky white gel polish evenly.
- Apply Non-Wipe Top Coat: Add a premium non-wipe gel top coat and cure it completely under the lamp.
- Buff the Powder: Use a soft silicone tool to rub the iridescent powder firmly onto the smooth surface.
- Remove Excess Dust: Sweep away any stray powder particles with a fluffy brush before applying final seals.
Make sure to cap the free edges thoroughly to prevent the delicate chrome from rubbing off during chores. This specific nail design provides a clean, polished appearance that coordinates beautifully with elegant bridal wear. It adds a subtle futuristic edge to an otherwise classic, clean neutral manicure palette. Your hands will radiate a soft, expensive glow effortlessly.
4. Encapsulated Dried Wildflowers in Crystal Clear Builder Gels
Bringing authentic elements of nature into your beauty routine offers a deeply romantic, cottage-core aesthetic. This technique involves embedding real, microscopic dried flower petals directly into a thick layer of clear extension gel. The flowers appear suspended in ice, preserving their delicate colors and organic shapes permanently. It represents a beautiful fusion of high-tech chemistry and traditional botanical art.
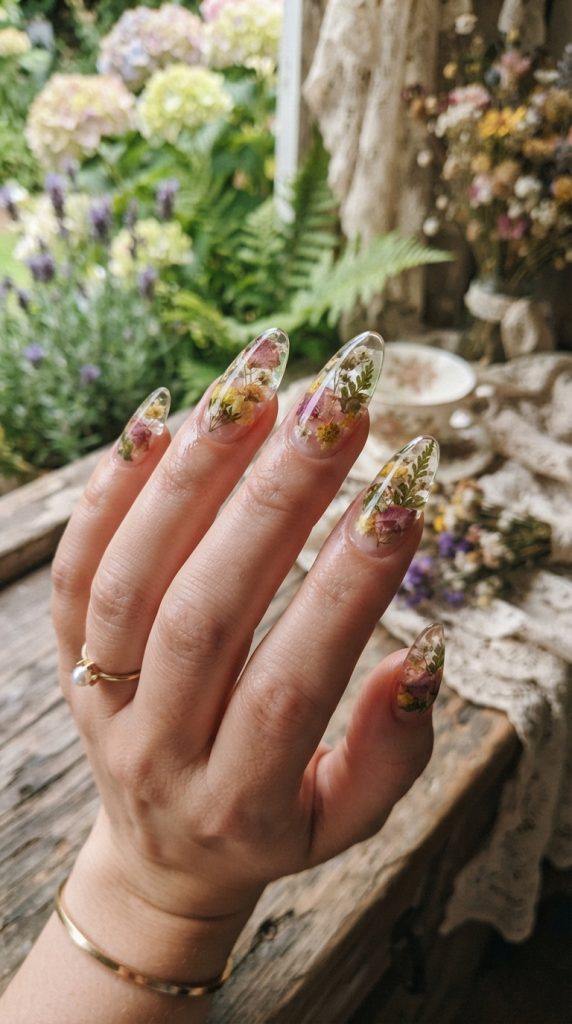
Methods for Flawless Flower Encapsulation
- Prepare the Petals: Select ultra-flat, miniature dried blossoms and press them gently with tweezers before application.
- Lay a Sticky Base: Apply a thin layer of clear base gel, leaving it uncured to hold the flowers.
- Arrange the Blossoms: Place the tiny petals strategically across the surface using a wax dotting tool carefully.
- Build the Clear Layer: Cover the arrangement with a thick layer of clear builder gel to smooth the surface.
This detailed process requires immense patience, but the stunning visual payoff is absolutely worth the effort. It works beautifully for spring weddings, garden garden parties, and sunny afternoon picnics. The organic textures create a beautiful conversation piece that feels deeply personal, artistic, and entirely unique. No two extensions will ever look exactly identical.
5. Ethereal Rose Quartz Quartz Transitions and Soft Marble Veining
Recreating the luxurious texture of natural crystals brings a grounded yet magical energy to your hands. The soft, bleeding veins of rose quartz mimic real geological formations found deep within the earth. This technique relies on a specialized blooming gel to let the colors disperse naturally across the surface. It provides a highly sophisticated, organic appearance that feels incredibly soothing.
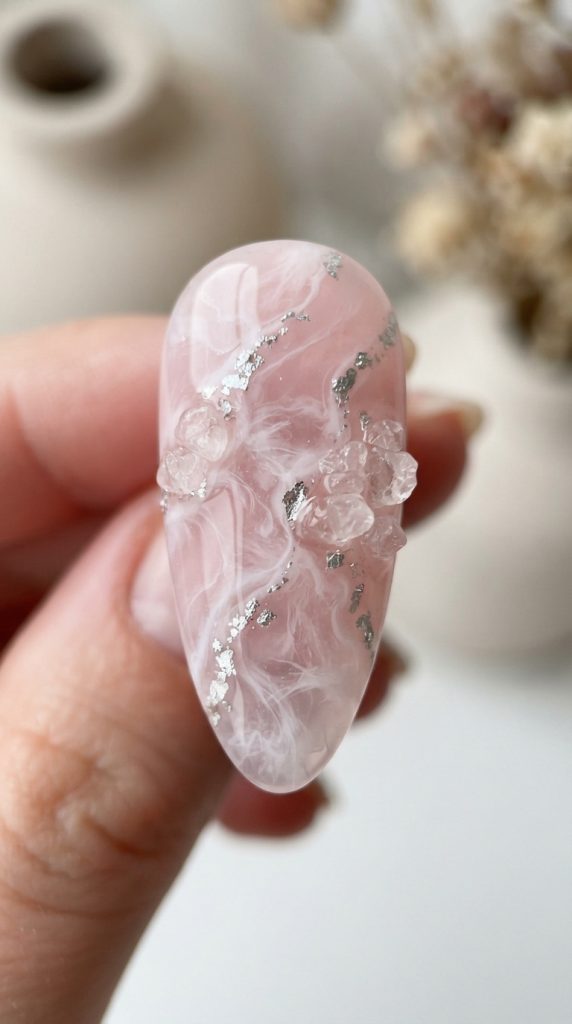
Steps for Realistic Crystal Veining
- Paint the Quartz Base: Apply a soft, semi-sheer pastel pink shade as your primary background color.
- Apply Blooming Gel: Spread a thin layer of clear blooming gel across the surface without curing it.
- Draw Delicate Veins: Trace squiggly, unpredictable lines using a fine brush dipped in crisp white polish.
- Watch the Blur: Allow the white lines to diffuse softly into the blooming gel for thirty seconds.
You can add tiny flecks of silver foil along the veins to mimic real mineral deposits hidden inside crystals. This therapeutic art style works exceptionally well on soft, rounded almond shapes. It delivers an understated luxury aesthetic that never feels overly loud, distracting, or aggressive. It is the ultimate choice for modern minimalist enthusiasts.
6. Whispering Angel Wing Feathers with Soft Matte Finishes
There is something deeply calming about the soft texture of delicate, hand-painted feathers drifting through the air. This whimsical nail design utilizes fine white brushstrokes over a muted, smoky gray or dusty rose background. Applying a premium matte top coat transforms the gloss into a soft, porcelain-like ceramic texture. It evokes the gentle comfort of classical angel sculptures and historical renaissance art.
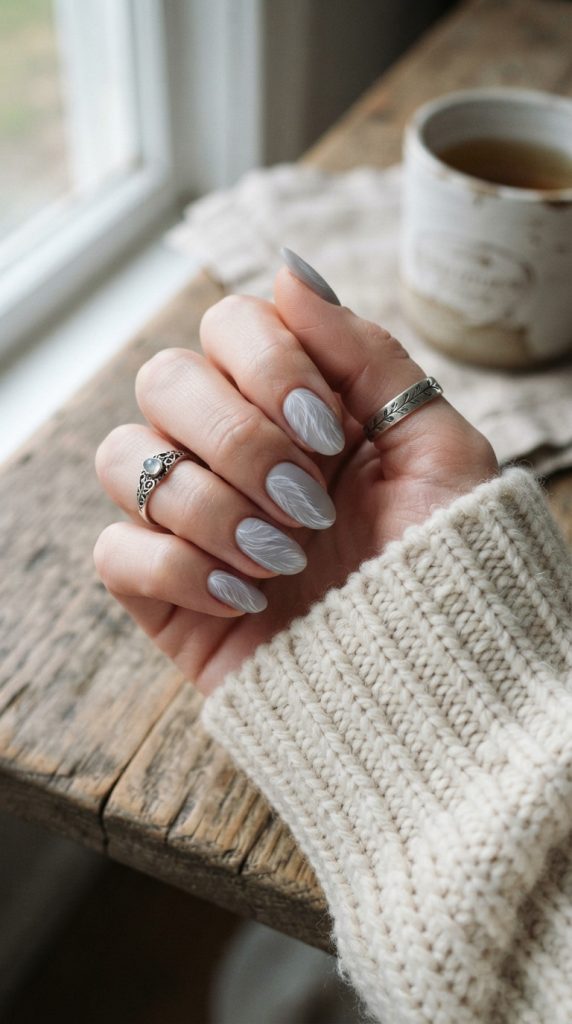
Ways to Paint Soft Feathers
- Select a Muted Background: Paint the surface with a matte dusty rose or soft cloud gray shade.
- Map the Spine: Draw a thin, gently curving central line using a highly pigmented white art gel.
- Flick the Barbs: Use a micro-liner brush to pull ultra-thin, wispy lines outward from the central spine.
- Apply the Matte Seal: Coat the entire artwork with a non-reflective matte top coat to finish.
The matte finish eliminates distracting reflections, allowing the intricate linework to take center stage completely. This style pairs beautifully with cozy oversized knit sweaters and delicate silver vintage jewelry. It brings a quiet, intellectual sophistication to your fingertips that feels incredibly artistic and thoughtful. It is a true testament to delicate brush control.
7. Celestial Pastel Ombre Gradients Blending into Shimmering Clouds
Blending multiple soft pastel colors together creates a beautiful sunset effect that feels entirely heavenly. This technique transitions seamlessly from a soft lavender base up into a warm peach or baby blue tip. Adding tiny, puffy white cloud details over the gradient completes the whimsical sky fantasy theme beautifully. It feels like carrying a tiny, wearable piece of summer sky with you everywhere.
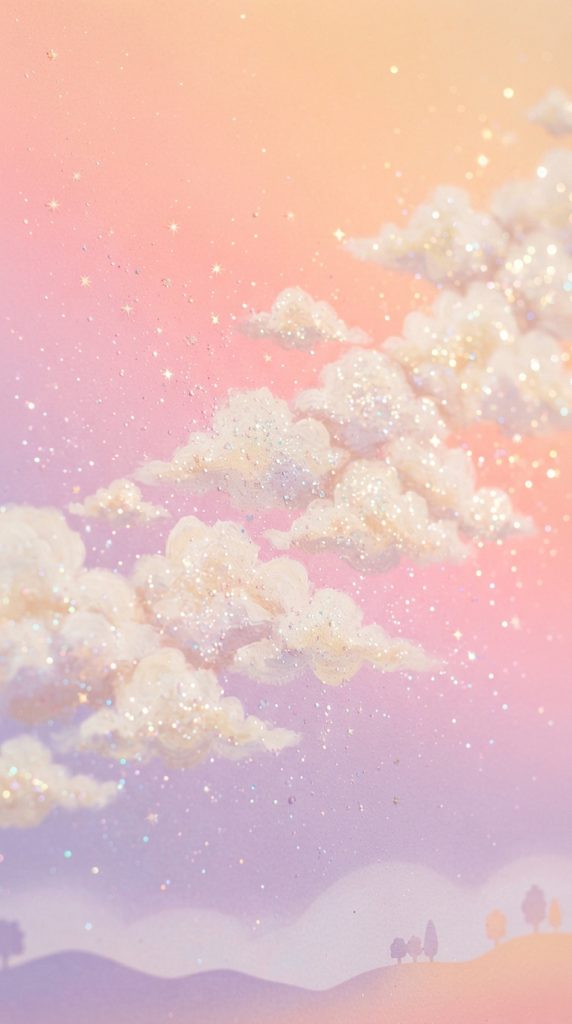
Methods for Seamless Sky Gradients
- Dab the Colors: Apply lavender and peach gel polishes side-by-side onto a small makeup wedge sponge.
- Tap the Transition: Gently bounce the sponge across the surface to blend the two colors together seamlessly.
- Paint Puffy Clouds: Use a small round brush dipped in white polish to dot cloud clusters randomly.
- Add Iridescent Glitter: Drop a tiny bit of micro-glitter over the clouds to represent shimmering sunlight beams.
The secret to a perfect gradient is applying multiple ultra-thin layers rather than one heavy coat of polish. This careful approach eliminates harsh lines, creating a flawless smoky transition that looks professionally airbrushed. It brings a playful, joyful energy to your wardrobe during bright summer holiday seasons. It remains an enduring favorite across social media platforms.
8. Liquid Silver Liquid Metallic Edges and Abstract Molten Borders
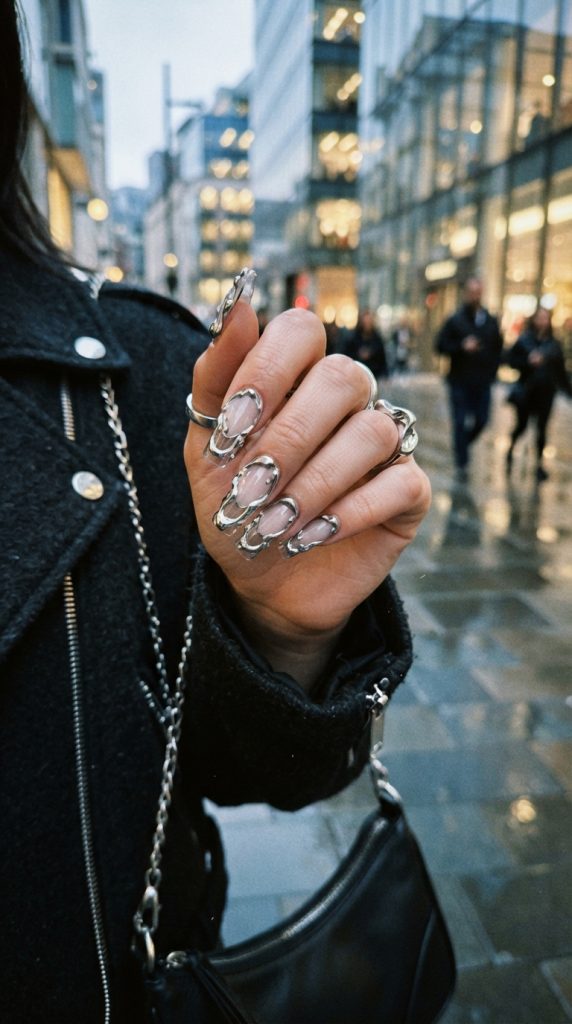
Infuse a touch of high-fashion futurism into your whimsical aesthetic by experimenting with molten metallic elements. This avant-garde style features 3D gel borders that mimic droplets of flowing liquid silver or platinum. The metallic trim frames the edges of a sheer, clear extension base, creating a stunning architectural contrast. It strikes a balance between ancient elven royalty and modern cyberpunk design structures.

Steps for 3D Metallic Texturing
- Lay a Glossy Base: Apply a clear or nude base coat and cure it completely under the lamp.
- Build 3D Ridges: Use a thick, high-viscosity hard gel to sculpt raised, irregular borders along the edges.
- Apply Non-Wipe Gel: Coat only the raised 3D ridges with a non-wipe top coat and cure.
- Buff Silver Chrome: Rub a highly reflective silver chrome powder exclusively over the raised ridges carefully.
This sculptural technique transforms your fingertips into wearable jewelry pieces that command attention instantly. The raised texture feels fascinating to touch and catches the light dramatically with every single hand movement. It pairs exceptionally well with minimalist streetwear, sharp blazers, and modern silver hardware accessories. It represents the absolute cutting edge of contemporary manicures.
9. Holographic Halo Raindrops using High-Viscosity Gloss Gels
Capture the refreshing, peaceful essence of a gentle spring morning rain shower on your hands. This innovative nail design uses thick drops of clear gel over a shimmering holographic background base. The clear drops magnify the rainbow shifts underneath, creating a brilliant, realistic three-dimensional water droplet illusion. It looks incredibly fresh, dynamic, and beautifully alive under direct sunlight beams.
Ways to Sculpt Realistic Raindrops
- Apply Holographic Polish: Paint two coats of a fine linear holographic polish across the surface evenly.
- Lock with Matte: Apply a matte top coat over the holographic layer to create texture contrast.
- Place the Drops: Deposit large, round beads of high-viscosity top gel onto the surface using a dotting tool.
- Flash Cure Instantly: Freeze the drops under a handheld LED light immediately so they do not flatten out.
The contrast between the flat matte background and the glossy, wet look of the droplets is stunning. It gives the impression that fresh morning dew has just settled gently onto your fingertips. This creative layout is perfect for nature lovers who appreciate clever optical illusions in fashion. It brings a refreshing, clean energy to your style.
10. Whimsical Sea Foam Pearl Accents and Mermaid Core Oceanscapes
Draw inspiration from mythical ocean depths by embracing the highly popular mermaid-core aesthetic movement. This beautiful style utilizes soft mint greens, aquamarines, and ocean blues blended with actual micro-pearl accents. Small, textured ridges are sculpted into the surface to mimic the elegant spiral pattern of seashells. It is a stunning, highly detailed option that feels deeply magical, luxurious, and completely coastal.
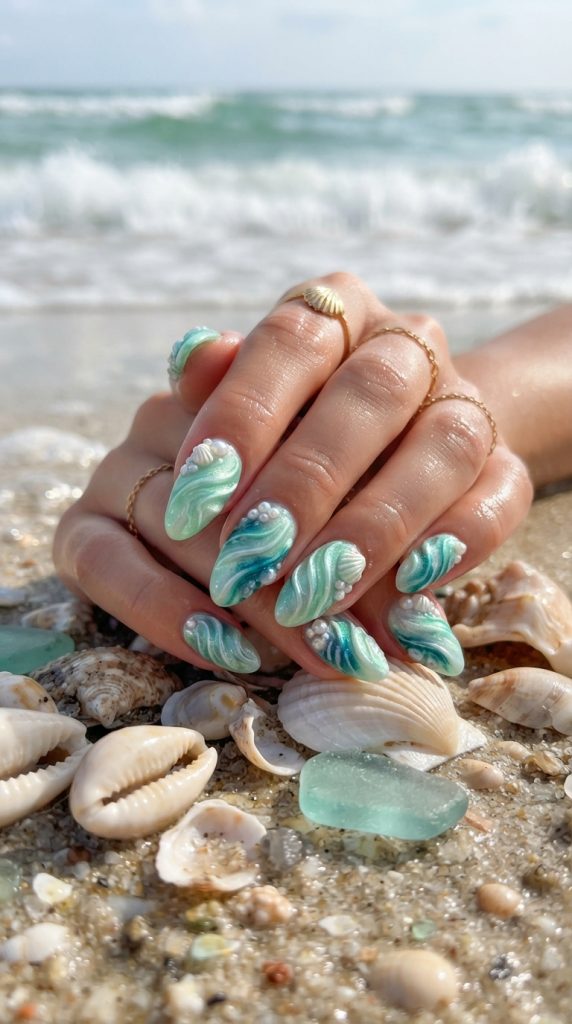
Methods for Mermaid Texturing
- Blend Ocean Tones: Swirl mint green and soft aquamarine polishes together loosely on the surface.
- Sculpt Shell Ridges: Draw parallel, curved lines using a thick builder gel to create raised seashell textures.
- Attach Micro Pearls: Place tiny faux pearls into a bead of nail glue near the cuticle area.
- Secure the Structure: Apply a final glossy gel layer over the entire creation to protect the pearls.
This intricate style is highly sought after for tropical summer beach vacations and themed coastal parties. The combination of ocean colors and real textured pearls creates an immersive sensory experience. It celebrates the timeless myth of sea sirens while showcasing top-tier salon artistic capability. Your hands will look entirely enchanting, luxurious, and beautifully sea-kissed.
Leave a Reply