The world of nail artistry is a canvas of infinite possibilities, and acrylics remain the gold standard for those seeking durability, structure, and the ultimate playground for creativity. Gone are the days when acrylic nails were synonymous with simple, solid-colored extensions. Today, they are a high-fashion accessory, a form of self-expression that balances architecture with aesthetic brilliance. Whether you are a professional nail technician looking to push the boundaries of your craft or an ambitious DIY enthusiast eager to master the art of the perfect set, understanding unique acrylic techniques is your ticket to standing out in a crowded digital space.
Pinterest, the digital mood board of the world, has transformed how we perceive nail art. It is no longer just about the finished look; it is about the process, the technique, and the innovation behind the design. The modern audience craves depth. They want to know how a 3D sculpted rose was layered, how an encapsulation technique traps glitters with perfect clarity, and how to master the perfect marble swirl that defies the laws of liquid monomer physics. This guide is designed to bridge the gap between amateur attempts and professional-grade masterpieces. By mastering these unique techniques, you aren’t just applying product; you are crafting art that commands attention, saves to thousands of boards, and sets trends.
As we dive into these 20 unique techniques, we will move beyond the basics. We will explore structural artistry, textural play, and the delicate balance of color theory in acrylic application. This is about elevating the everyday manicure into something worthy of a feature. We will cover the tools you need—from high-quality monomer ratios to specialized brushes—and the mindset required to execute intricate designs without losing the structural integrity of the nail. The journey to becoming an acrylic master is iterative; it requires patience, a steady hand, and the willingness to experiment with the medium. Let’s embark on this journey to redefine your nail game, ensuring that every set you create is not just a service, but a viral-worthy experience.
1. The Nail Art of Encapsulated Dried Florals
Encapsulating dried flowers within your acrylic set is a timeless, whimsical technique that brings an organic, boutique aesthetic to your fingertips. This design is perfect for wedding seasons or spring-inspired content, making it a high-saver on Pinterest. The key is in the clarity of the acrylic and the placement of the flowers to ensure the nail remains level and sturdy.
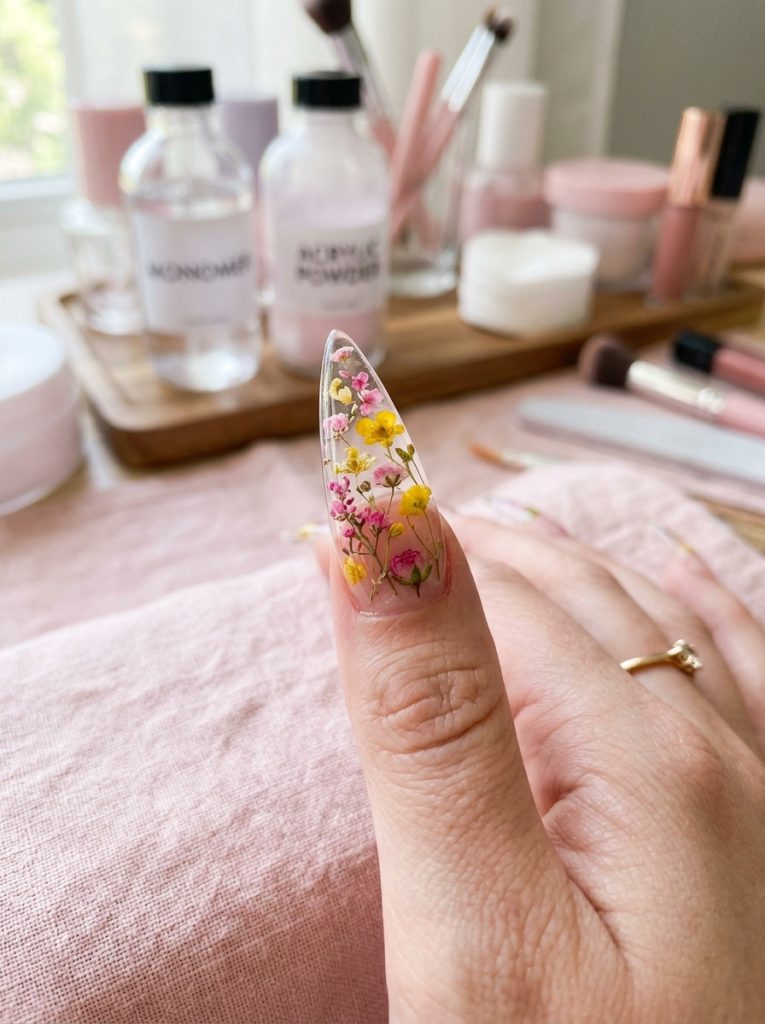
Steps to Achieve the Look:
- Prep and Tip: Prepare the natural nail with a thorough cuticle clean and dehydrator. Apply your nail form or tip to your desired length.
- Clear Base: Apply a thin layer of clear acrylic to create a smooth surface for your design.
- Flower Placement: Using tweezers, carefully arrange your dried flowers or petals onto the damp clear layer. Gently press them down so they lie perfectly flat.
- Encapsulation: Carefully apply a bead of clear acrylic over the flowers. You must be careful to avoid air bubbles, which can ruin the look.
- Structure and Shape: Build the apex with more clear acrylic, ensuring the nail is strong despite the added bulk of the flowers.
- Refine: Once cured, file and buff to a smooth finish and seal with a high-shine top coat.
Materials Needed:
- High-quality clear acrylic powder
- Monomer liquid
- Dried floral nail art sets
- Tweezers
- 100/180 grit nail file and buffer
2. Mastering the Acrylic Nail art “Marble Swirl”
The marble effect in acrylics is a sophisticated, classic look that mimics the natural beauty of stone. Unlike gel marble, acrylic marble requires speed and precision because the product sets quickly. This technique is all about the “marbling” motion within the bead itself, creating a luxurious finish that is always trending.
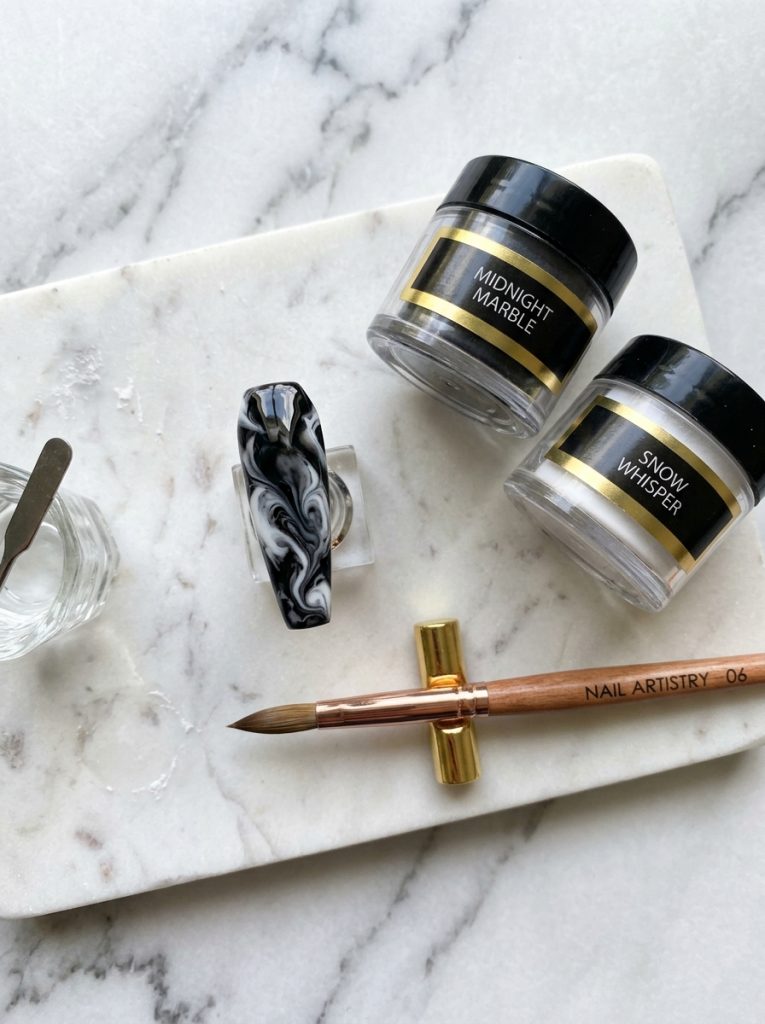
Steps to Achieve the Look of nail art:
- Color Selection: Pick two contrasting acrylic colors (e.g., white and charcoal or nude and rose gold).
- The Master Bead: Pick up a small bead of color A, then a small bead of color B on the same brush tip.
- The Swirl: Lightly touch the brush to the nail and perform a slow, figure-eight motion. Do not over-mix, or the colors will turn into a single, muddy shade.
- Application: Gently pat the swirled bead onto the nail plate. Use the belly of your brush to smooth it out without breaking the marble pattern.
- Refinement: Add a thin layer of clear acrylic over the top to protect the design during filing.
- Final Polish: File to shape and apply a non-wipe top coat to enhance the depth of the marble.
Materials Needed:
- At least two different shades of opaque acrylic powder
- Small, precise acrylic brush
- Clear acrylic for capping
- High-grit buffer for a glass-like finish
3. Structural 3D Acrylic Nail art Sculpting: The Rose
3D nail art is the ultimate way to showcase technical skill. Sculpting a 3D rose directly onto the nail requires an understanding of how acrylic moves and cures. This look is perfect for clients wanting a “statement” set that looks like a piece of wearable jewelry.
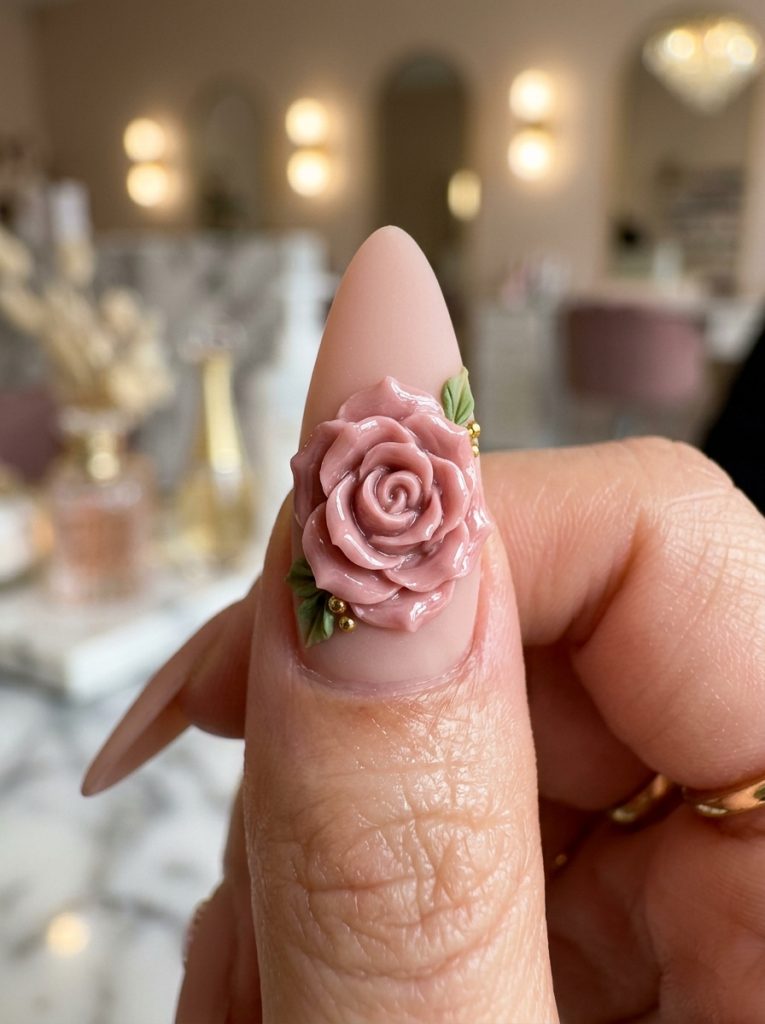
Steps to Achieve the Look:
- Base Layer: Apply your base acrylic set as usual.
- The Center Bud: Place a small, wet bead of acrylic in the center of the nail. Use the tip of your brush to flatten the edges into a petal shape.
- Layering Petals: Place subsequent beads around the center, slightly overlapping each one to create the illusion of opening petals.
- Detailing: Use the edge of your brush to create soft ridges in the “petals” to add texture.
- Consistency: Keep your monomer-to-powder ratio slightly wetter than normal for 3D work to give yourself more time to shape.
- Finishing: Do not top coat over the 3D art; leave it matte or texture-finished for a more realistic look.
Materials Needed:
- Small, pointed 3D acrylic brush
- Acrylic powders in various colors
- Dappen dish
- Acetone (for cleaning the brush frequently)
4. Creating “Glass” Nail Art with Translucent Acrylics
The “Glass” or “Jelly” nail trend has taken the internet by storm. Using translucent, tint-based acrylics, you can create a look that appears almost like colored stained glass or hard candy. This technique is sleek, modern, and incredibly photogenic for social media.
Steps to Achieve the Look:
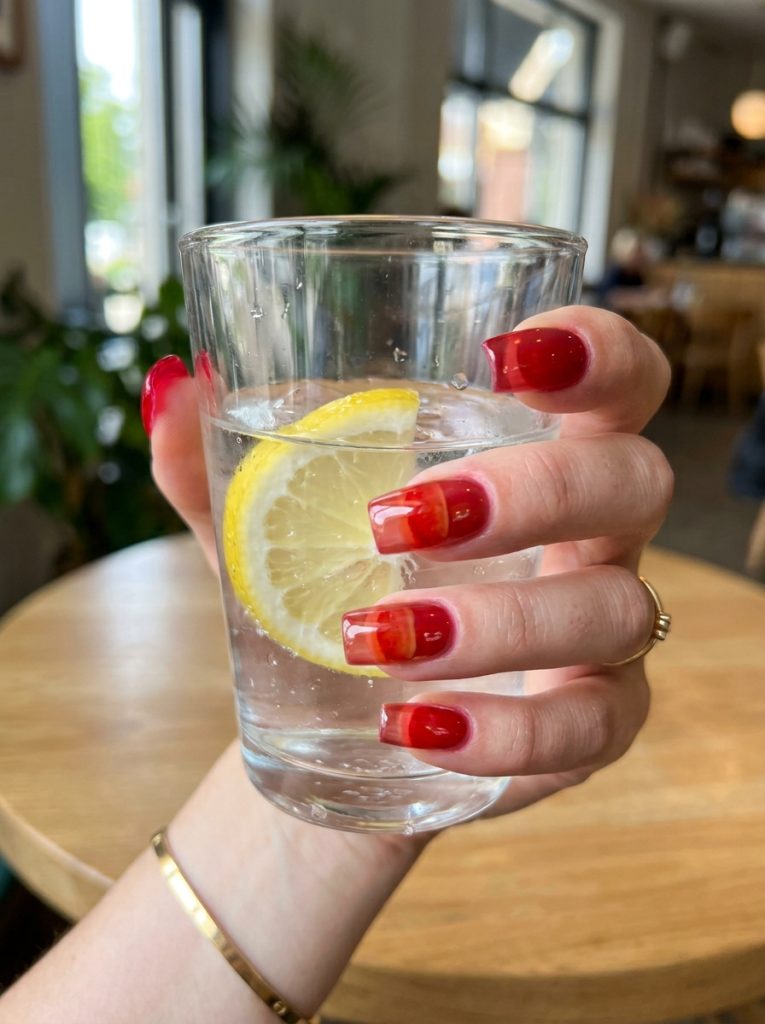
- Tinted Acrylics: Mix a tiny amount of concentrated gel pigment or concentrated ink into your clear acrylic powder to create your own “jelly” shades.
- Uniform Application: Apply the tinted acrylic uniformly across the nail tip.
- Clarity is Key: Ensure the application is thin and even. You want the light to pass through the nail easily.
- No Capping Needed: Since the color is translucent, you typically do not need to cap it with clear, but you must be careful not to file away your color during the shaping process.
- High Shine: A high-gloss top coat is non-negotiable for this look to give that true “glass” effect.
Materials Needed:
- Clear acrylic powder
- Concentrated pigments (colored inks or specific jelly powders)
- High-quality sculpting brush
- Top coat
5. Incorporating “Sugar” Texture into Acrylic
Adding a sugar effect to acrylic nails provides a contrast between the smoothness of the base and the grittiness of the design. This is perfect for accent nails or a full set of “glitter-dusted” look without the bulk of heavy glitter encapsulation.
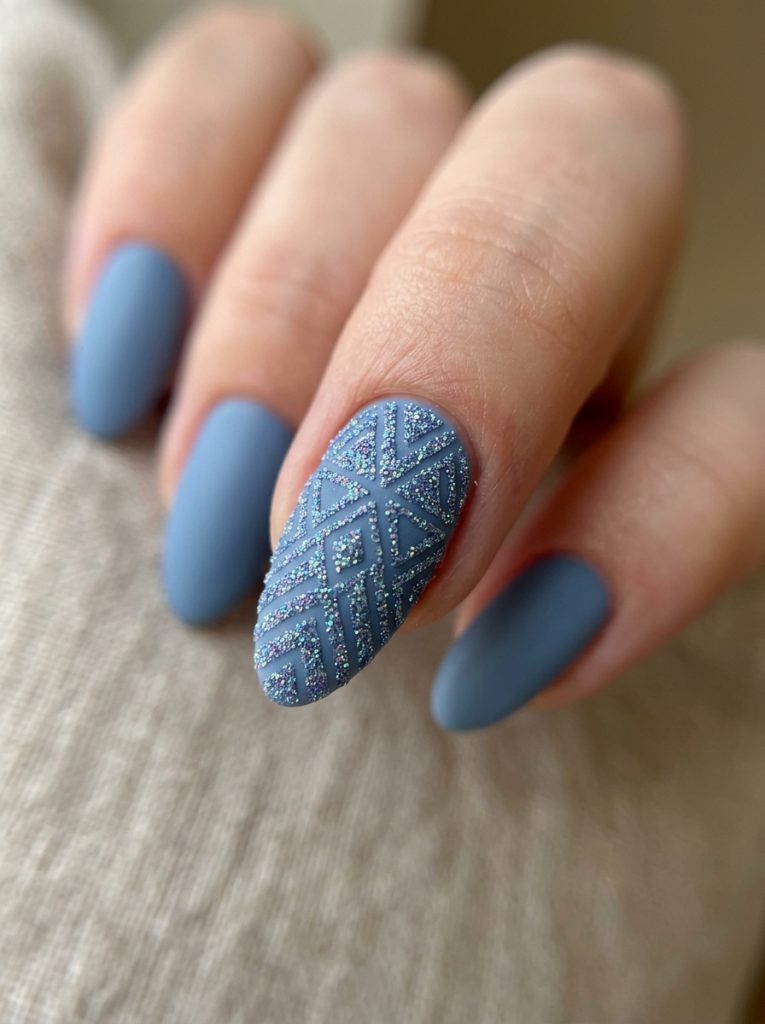
Steps to Achieve the Look:
- Base Set: Complete your acrylic application as usual.
- Top Coat Application: Paint a layer of non-wipe top coat over the nail.
- The “Sugar” Step: Before curing the top coat, sprinkle high-quality, fine-grain cosmetic glitter or acrylic powder over the wet nail.
- Cure/Set: If using gel top coat, cure it with the glitter on top. If using traditional polish, let it dry completely.
- Remove Excess: Use a soft dusting brush to remove the loose glitter.
- Edge Clean Up: Ensure the glitter is only on the surface and not creating thick, sharp edges at the cuticle.
Materials Needed:
- Fine-grain cosmetic glitter or fine acrylic pigment
- Top coat
- Dusting brush
6. Ombré Acrylic Blending Techniques
The acrylic ombré (or “baby boomer” look) is a Pinterest staple. It requires a seamless transition between two colors—most commonly a nude/pink base and a white tip. Achieving a flawless blend is the mark of an expert nail tech.
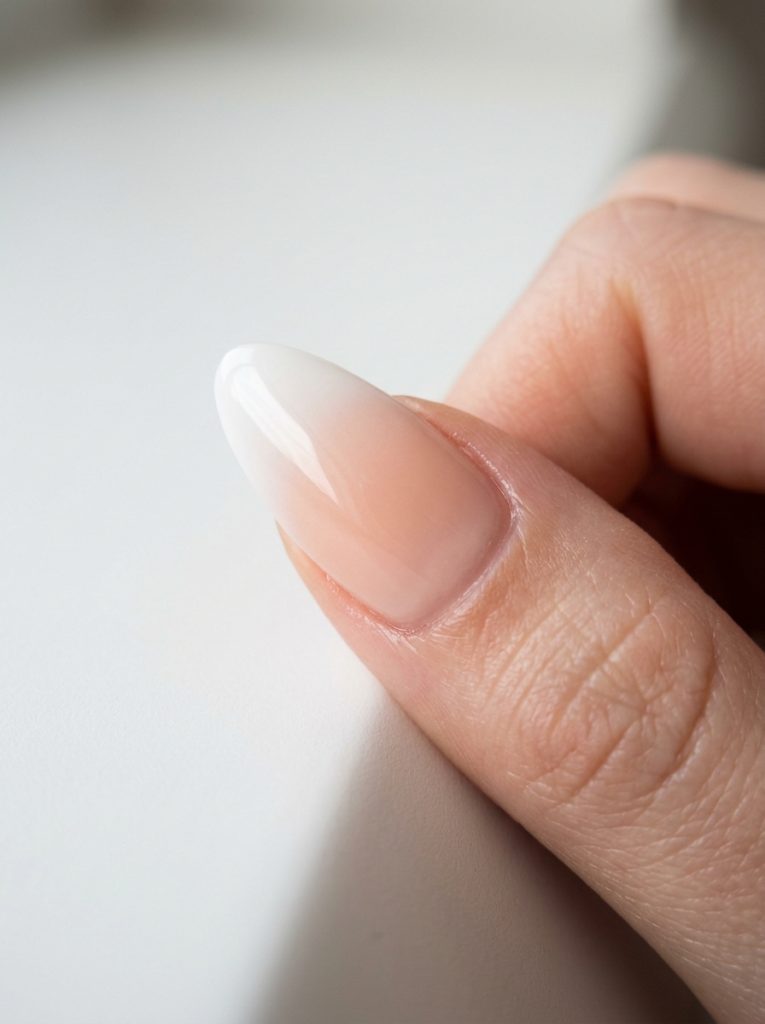
Steps to Achieve the Look:
- The Base: Apply your nude acrylic to the cuticle area.
- The Fade: Pick up a bead of white acrylic and place it at the free edge. Use your brush to lightly pull the white toward the cuticle, fading it out into the nude.
- Layering: Pick up a slightly thinner bead of nude to blend over the transition area, smoothing the gradient.
- Consistency: The secret is to keep the brush clean. If you have too much product on your brush, you will create streaks.
- Filing: Be gentle when filing so you don’t file away your gradient transition.
Materials Needed:
- Two shades of acrylic powder (nude/pink and white)
- Large, high-quality sculpting brush
- Buffer
7. Chrome Effects on Acrylic Surfaces
Mirror-like chrome nails continue to dominate high-fashion runways. While often done over gel, applying chrome over an acrylic base requires specific preparation to ensure the powder adheres correctly and lasts without chipping.
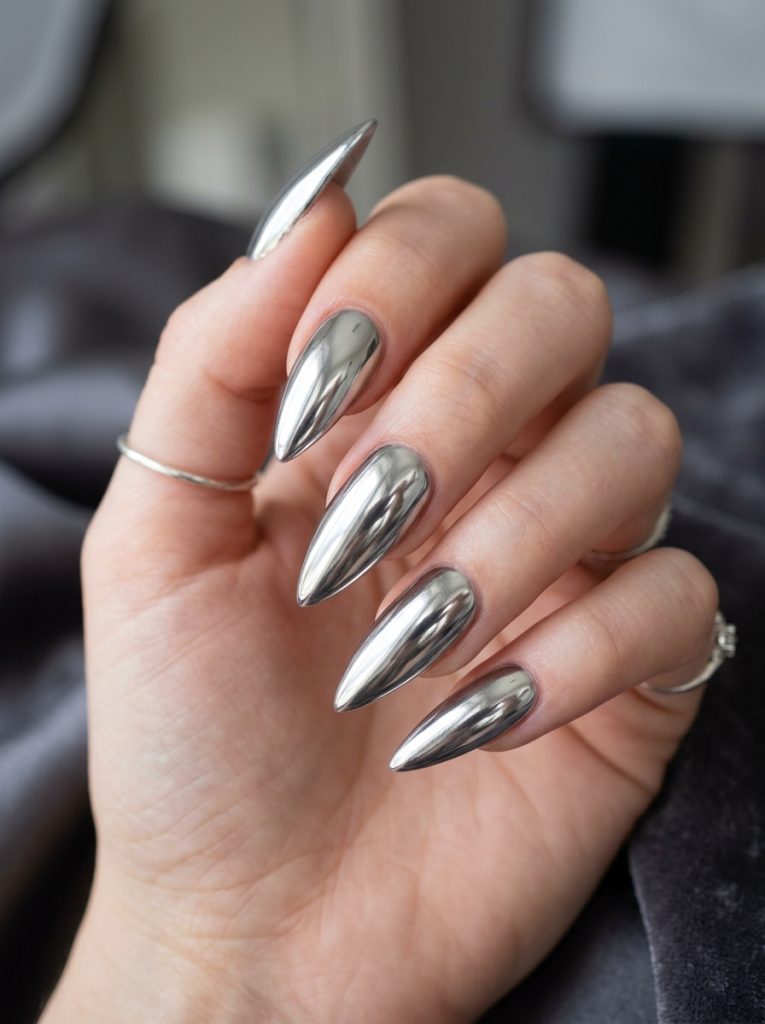
Steps to Achieve the Look:
- Surface Prep: File your acrylic nail to a perfectly smooth surface. Any imperfections will be magnified by the chrome.
- Base Layer: Apply a layer of gel top coat (chrome powder usually adheres to gel, not raw acrylic).
- Curing: Cure for 30–60 seconds, leaving the surface slightly “tacky.”
- Burnishing: Use a silicone tool or sponge applicator to rub the chrome pigment into the surface until you get a solid mirror effect.
- Seal: Apply a second layer of gel top coat to protect the chrome finish.
Materials Needed:
- Chrome pigment powder
- Gel top coat
- LED/UV lamp
- Applicator tool
8. Faded French Tip with Glitter Lining
Updating the classic French manicure by using acrylics to create a faded (ombré) French tip adds a modern twist. Adding a thin glitter line between the colors adds that extra “Pinterest-worthy” detail.
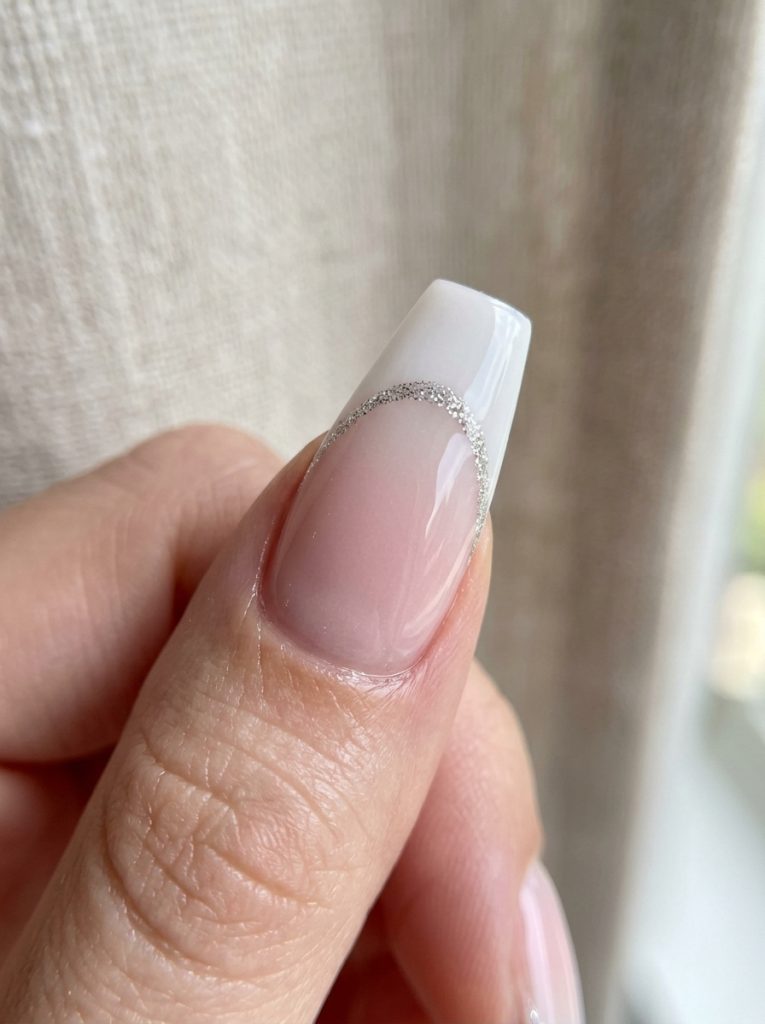
Steps to Achieve the Look:
- Ombré Base: Follow the steps for an acrylic ombré (nude/white).
- Glitter Lining: Use a fine detail liner brush with a tiny bit of glitter acrylic (or glitter gel) to create a clean, crisp line at the transition point.
- Capsule: Cap the design with clear acrylic to keep the line protected and the surface smooth.
- Refine: File and shape, then apply a high-gloss finish to make the glitter pop.
Materials Needed:
- Nude/White acrylic
- Fine detail brush
- Glitter pigment/acrylic
- Clear acrylic
9. Geometric Acrylic Inlays
Using metallic foils or shapes inlayed into the acrylic provides a sharp, architectural look that is very popular for edgy, modern aesthetics. It is a fantastic way to utilize “scrap” materials like foil strips or geometric glitter pieces.
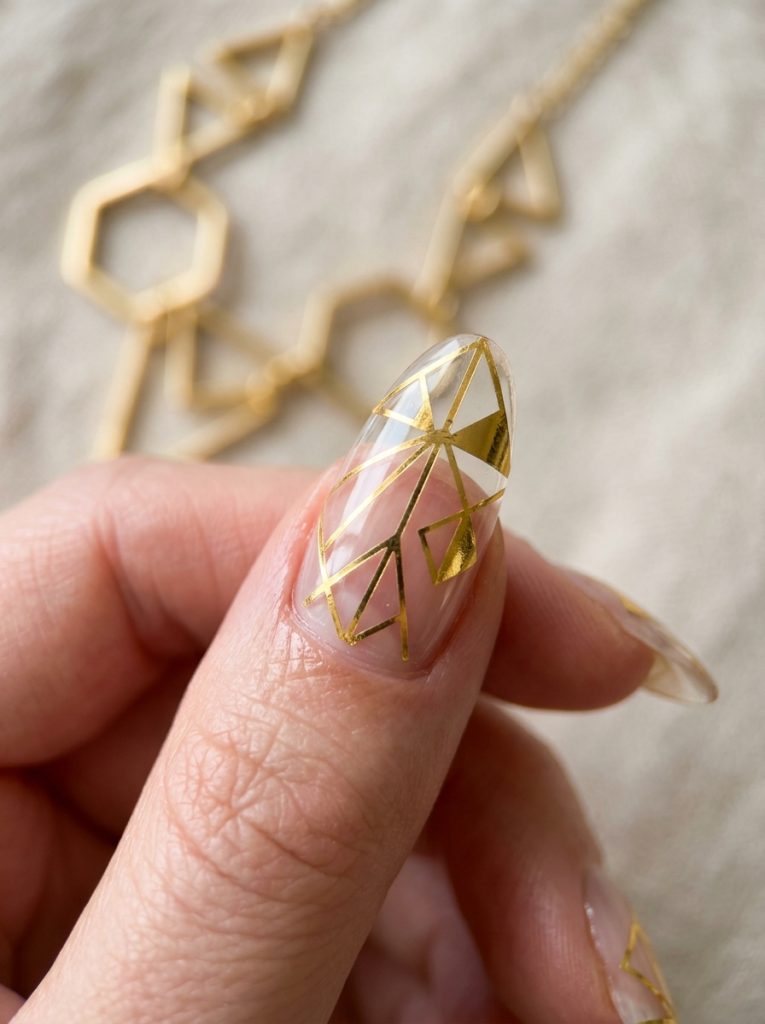
Steps to Achieve the Look:
- Clear Base: Start with a thin layer of clear acrylic.
- Design Placement: Place your foils or metallic pieces in a geometric pattern.
- Embedding: Apply a bead of clear acrylic over the design. Make sure you don’t disturb the placement of the pieces.
- Apex Building: Build the structural apex of the nail over the inlay.
- Buffing: File the nail carefully to ensure the surface is flat, as metallic pieces can sometimes create bumps.
Materials Needed:
- Metallic foil strips or geometric nail art shapes
- Clear acrylic
- Precision tweezers
10. The “Negative Space” Acrylic Technique
Negative space designs use the natural nail or clear acrylic as part of the art itself. This is a very clean, minimalist aesthetic that looks professional and sophisticated.
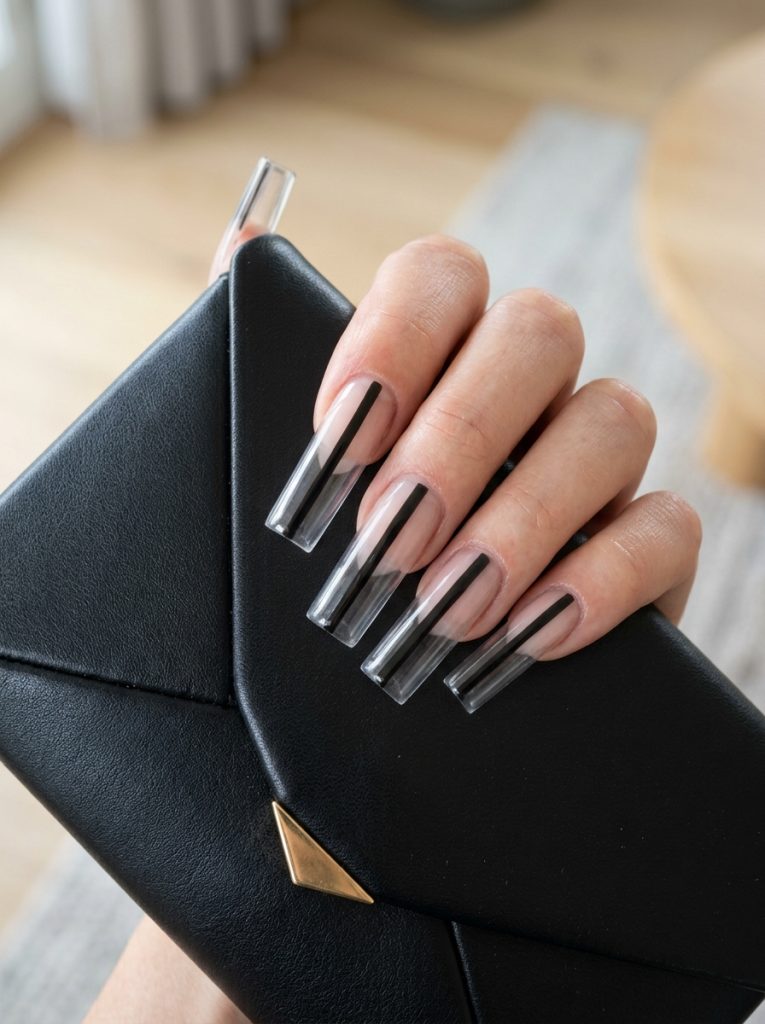
Steps to Achieve the Look:
- Taping/Forming: Use a specialized nail form or sticker to mask off the area you want to remain clear or “empty.”
- Acrylic Application: Apply your colored acrylic around the negative space area.
- Precision: Ensure your edges are clean. You may need to use a small cleanup brush with a tiny amount of monomer to perfect the lines.
- Removal: Remove the mask carefully once the acrylic is semi-dry.
- Seal: Apply a clear top coat over the entire nail to blur the transition between the colored acrylic and the clear area.
Materials Needed:
- Nail forms or vinyl art tape
- Colored acrylic powder
- Cleanup brush
- Top coat