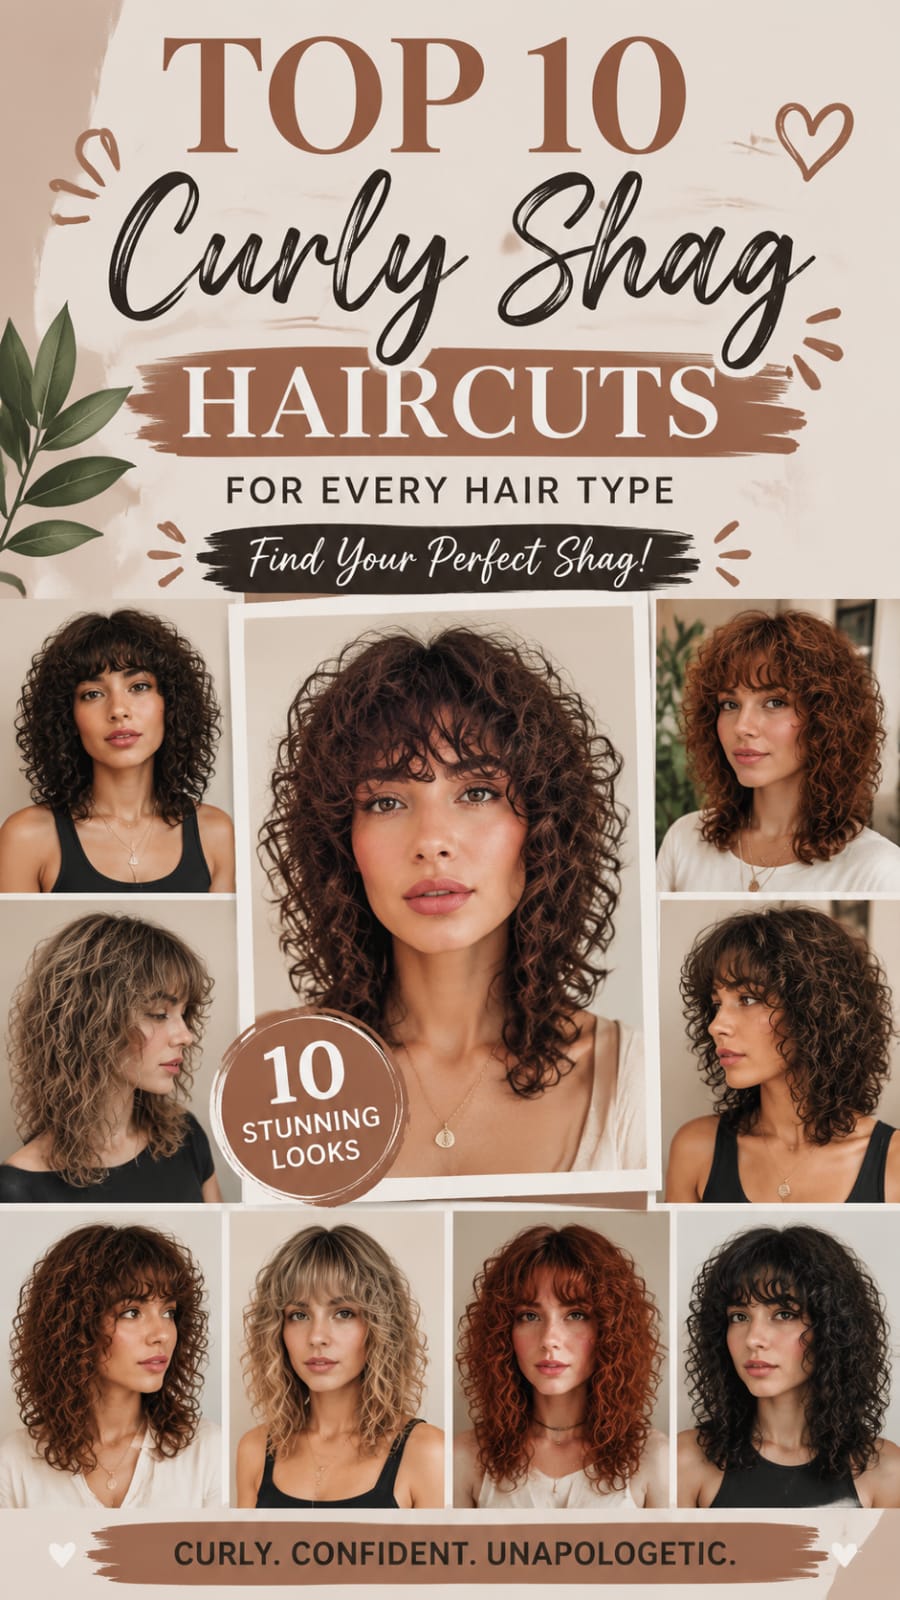
Finding the right haircut for naturally textured locks can completely change how you feel about your daily routine. The shag haircuts trend brings back seventies flair with modern versatility. It creates weightless movement and incredible volume across all textures. This comprehensive guide covers how variations of the cut suit every curl pattern, density, and face shape. You will find practical steps, styling methods, and routine updates to make your natural texture thrive every single day.
The Ultimate Guide to Understanding Texture and Layering
Before diving into specific cuts, it helps to understand why shag haircuts work so well for curly patterns. Traditional blunt cuts often create a triangular shape on textured hair. This happens because weight accumulates at the bottom while the top stays flat.
Layering changes the weight distribution completely. By removing bulk from internal sections, each curl gains the freedom to spring up naturally. Strategic layering prevents the heavy, bottom-heavy look while creating natural volume at the crown.
Understanding Curl Patterns and Densities
- Type 2 (Waves): Layers add lift and prevent waves from being pulled straight by their own weight.
- Type 3 (Curls): Layering creates distinct ringlets and prevents the dreaded pyramid effect.
- Type 4 (Coils): Strategic cuts provide control, beautiful shape, and a balanced overall silhouette.
Understanding your hair’s density is just as important as knowing your curl pattern. Fine hair needs light layering to build volume without losing fullness. High-density hair requires deeper interior weight removal to remain manageable throughout the week.
The Science of Strategic Layering for Natural Curls
To truly appreciate what makes shag haircuts work, you must look at curl geometry. Curls grow in spirals, coils, or wave formations that need space to expand. When hair is cut in flat, heavy blocks, curls press against each other. This creates unwanted friction, bulk, and frizzy expansion.
Strategic layering creates internal pockets of space. These spaces allow each individual curl group to nest into its own place. The result is organized coil formation, reduced tangling, and enhanced elasticity.
How Scalp Density Changes Your Cut
Density refers to the number of individual strands growing on your scalp per square inch. You can have fine hair strands, but a high overall density of hair.
- Low Density Curls: Require precise, shallow layers to build visual volume without making the ends look sparse or thin.
- Medium Density Curls: Benefit from classic step-layering that creates uniform movement from crown to length.
- High Density Curls: Need interior weight removal, channel cutting, and deep point-cutting to relieve bulk.
Understanding Hair Porosity and Cuticle Health
Hair porosity plays a major role in how your cut behaves after styling. Porosity determines how easily your hair absorbs and retains moisture. Your curl pattern and porosity together dictate which styling products will hold your shape best.
High porosity hair has raised cuticles that absorb moisture quickly but lose it just as fast. Low porosity hair has flat, tightly closed cuticles that resist moisture absorption. Knowing your porosity ensures your layers stay hydrated and defined.
Porosity Types and Layer Management
- Low Porosity: Requires lightweight, liquid-based products that will not weigh down internal layers.
- Medium Porosity: Responds well to balanced creams and gels, holding curl memory effortlessly.
- High Porosity: Needs richer creams and sealing oils to prevent layers from expanding into unwanted frizz.
Proper product selection allows your layers to spring up cleanly without weighed-down roots or dry, fluffy ends.
Essential Hair Tools for Styling Textured Layers
Styling textured layers requires the right set of tools to achieve maximum movement and definition. Using improper brushes or harsh towels can disrupt your curl formation and create unwanted frizz. Investing in specialized tools ensures your layers stay crisp and defined.
A deep-bowl diffuser attachment is essential for drying layered hair evenly without disturbing the natural curl pattern. Wide-tooth combs and flexible-bristle wet brushes help distribute products evenly through wet strands.
Must-Have Styling Tools
- Microfiber Towel or Cotton T-Shirt: Prevents friction and absorbs excess water without roughing up the cuticle.
- Deep-Bowl Diffuser: Cupping layers gently while drying builds root lift and maintains coil structure.
- Styling Brush with Removable Rows: Helps create defined, uniform curl clumps along face-framing layers.
- Wide-Toothed Hair Pick: Lifts hair at the roots to maximize volume without disturbing the ends.
Using these tools properly ensures your layers remain soft, defined, and full of natural movement every day.
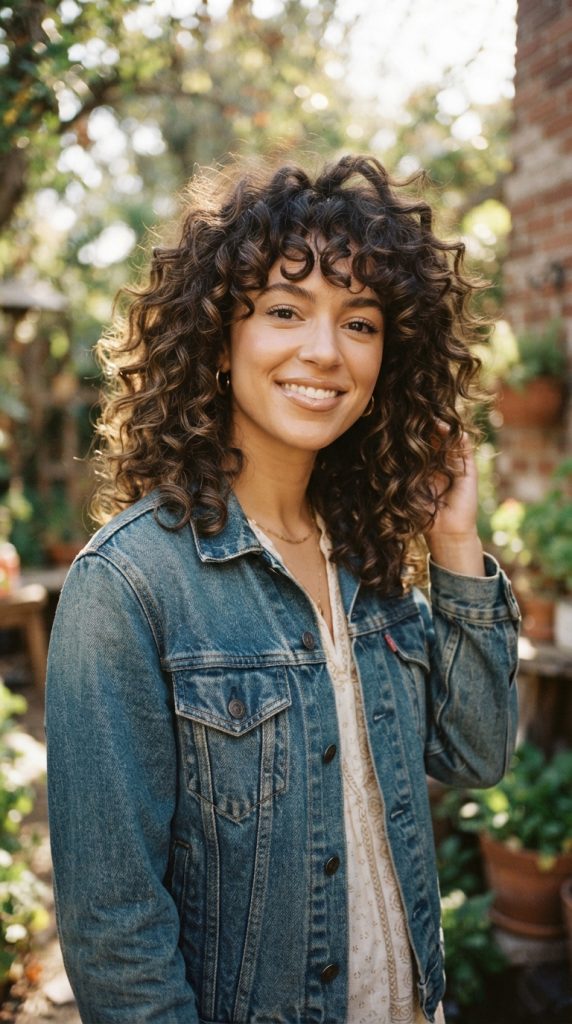
1. The Classic 70s Curly Shag
The classic rock-and-roll style is the blueprint for all modern variations of shag haircuts. It features heavy crown layers and choppy ends. These elements build natural volume without adding weight at the bottom. This layout prevents the flat-top effect common with long curls.
The key to this style is face-framing fringe. The fringe transitions seamlessly into side layers. Shorter top layers allow curls to bounce freely. Longer bottom layers maintain your total length and perimeter shape.
Choosing the Best Method for Cutting
Ask your stylist for dry-cutting techniques using shears rather than razors. Razors can fray delicate curl cuticles and cause unnecessary frizz. Cutting the hair dry allows the stylist to see how each curl rests naturally.
Essential Styling Steps
- Wash with a sulfate-free cleanser to keep delicate natural oils intact.
- Apply a curl-defining cream to dripping wet hair. Distribute it evenly from mid-lengths to tips.
- Gently scrunch with a microfiber towel to remove excess moisture without roughing up the cuticle.
- Diffuse on low heat. Tilt your head side to side to build lift at the roots.
Maintaining Your Daily Look
Rehydrate your hair on non-wash days with a light water mist and a drop of jojoba oil. Gently cup the ends and scrunch upward. This revives the natural spring in your crown layers without causing frizz.
This timeless option works well on fine to medium curls that need extra lift at the crown. Strategic layering brings flat roots to life while keeping ends light and free-flowing.
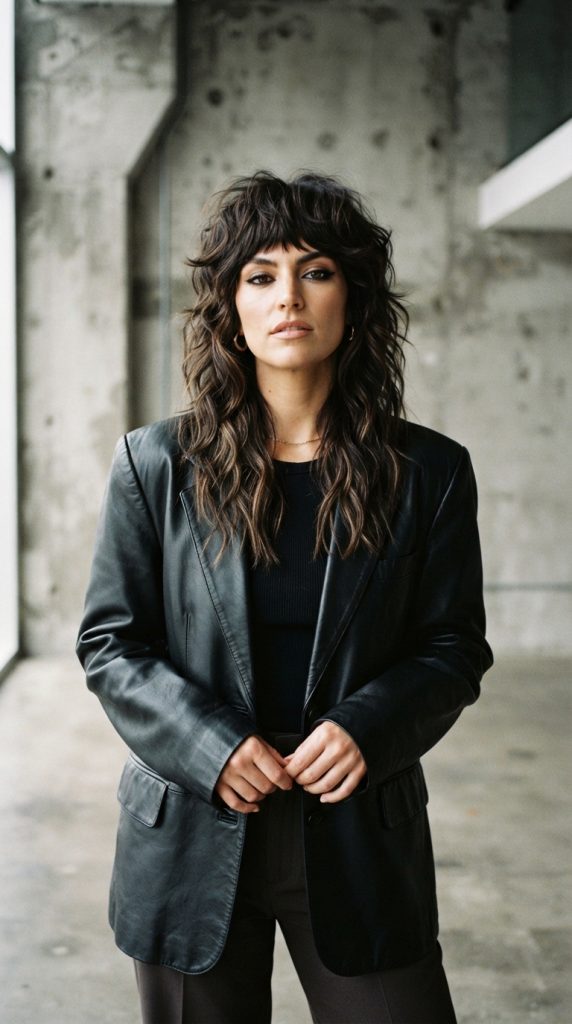
2. The Modern Wolf Cut Shag
Combining the drama of a mullet with the softness of traditional layers, the wolf cut offers modern edge. It features shorter, choppy crown layers that taper down into wispy lengths at the back.
This style provides internal structure for dense curls. It removes weight where hair tends to bulk up while keeping a playful perimeter.
Selecting Your Custom Adaptation
If you have high-density hair, ask for deep interior layering. This removes bulk from behind the ears. For finer textures, keep top layers slightly longer to maintain a full look.
Steps for Perfect Curl Definition
- Start with clean, wet hair and apply a leave-in conditioner to lock in moisture.
- Section the top crown and work a strong-hold gel through small segments using a wide-tooth comb.
- Scrunch the perimeter lengths with a lightweight mousse to build airy movement.
- Air-dry completely before gently breaking the gel cast with a few drops of hair oil.
Simple Refresh Techniques
To update your style between washes, mist crown layers with a curl refresher spray. Twirl limp sections around your finger to restore their spiral shape before letting them air-dry.
The wolf cut adaptation among shag haircuts is ideal for thick, wavy to curly patterns needing weight distribution. It creates balanced volume across top and sides while keeping overall length light.
3. The Short Curly Shag Bob
A short curly shag bob brings playful texture to chin-length cuts. It removes weight from the perimeter. This allows shorter ringlets to spring up with maximum volume and bounce.
This cut suits square and heart-shaped faces by softening the jawline with textured, face-framing curls.

Key Cutting Techniques to Request
Your stylist should use point-cutting on individual curls to create piecey, touchable ends. This approach prevents a blocky shape. It helps individual curls nest together naturally.
Daily Styling Methods
- Apply a light mousse to damp roots to build height at the crown.
- Rake a lightweight curl gel through mid-lengths and ends to lock in definition.
- Micro-fiber plop your hair for fifteen minutes to absorb moisture and boost curl formation.
- Diffuse upside down until eighty percent dry, then let the rest air-dry for touchable volume.
Nighttime Maintenance Tips
Protect short layers overnight by sleeping on a silk pillowcase. Gather top layers into a loose high pony. This preserves curl shape at the crown while you sleep.
This short variation of shag haircuts works wonders for tight ringlets and loose S-waves alike. It reduces styling time while keeping your look full of natural energy.
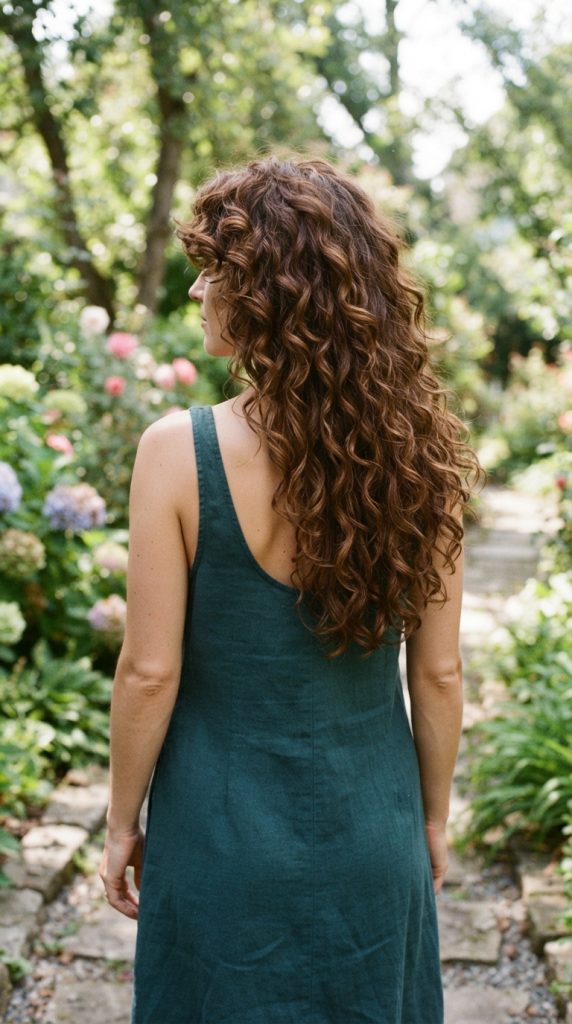
4. The Long Layered Curly Shag
Long hair often weighs down natural texture, flattening the top and creating an unbalanced shape. A long layered approach solves this by adding short layers throughout the crown while preserving overall length.
This layout gives you the best of both worlds. You get long, flowing locks with plenty of root lift and dynamic movement.
Crafting the Right Shape
Ensure your stylist cuts shorter internal layers to support longer exterior curls. This interior structure prevents ends from stringing out while keeping top sections voluminous.
Step-by-Step Styling Approach
- Apply a rich leave-in cream generously from roots to tips on wet hair.
- Section hair into four parts and apply a curl cream using the praying-hands method.
- Scrunch upward toward the scalp to encourage natural curl grouping.
- Diffuse on medium heat using a deep-bowl diffuser attachment to cup long curls gently.
Ways to Refresh Long Layers
Mix a small amount of leave-in conditioner with warm water in a spray bottle. Lightly mist mid-lengths, then cup and scrunch bottom layers to reactivate curl memory.
This approach within shag haircuts is perfect for low-density to medium-density curls that drop shape over time. It maintains dramatic length while adding essential crown lift.
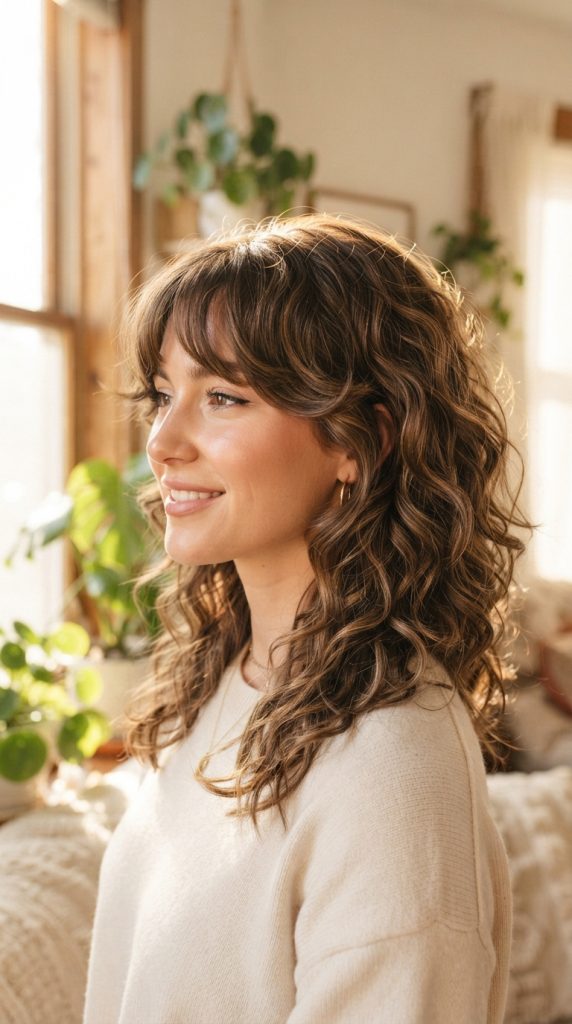
5. The Curly Shag with Curtain Bangs
Curtain bangs blend smoothly into cascading side layers, making them a great pairing for textured cuts. These soft, parted fringe pieces frame eyes and cheeks while flowing naturally into the rest of your hair.
Curtain bangs require lower maintenance than straight-across fringe because they grow out gracefully into shorter face-framing layers.
Customizing for Face Shapes
Round face shapes benefit from longer curtain bangs that fall right at the cheekbones. Longer or oval faces look great with shorter bangs that hit near the eyebrow line.
Steps to Style Your Fringe
- Separate curtain fringe from the rest of your damp hair before styling.
- Apply a light curl lotion specifically to front sections.
- Finger-coil fringe pieces away from your face to set their direction.
- Diffuse bangs on low airflow while gently guiding them outward with your fingers.
Quick Touch-Up Options
If your fringe loses shape before wash day, wet just the front curtain sections at the sink. Add a drop of leave-in cream, re-coil pieces away from your face, and air-dry.
Pairing curtain bangs with shag haircuts suits almost all curl patterns, from soft waves to tight spirals. It adds a flattering frame to your features without requiring constant salon trims.
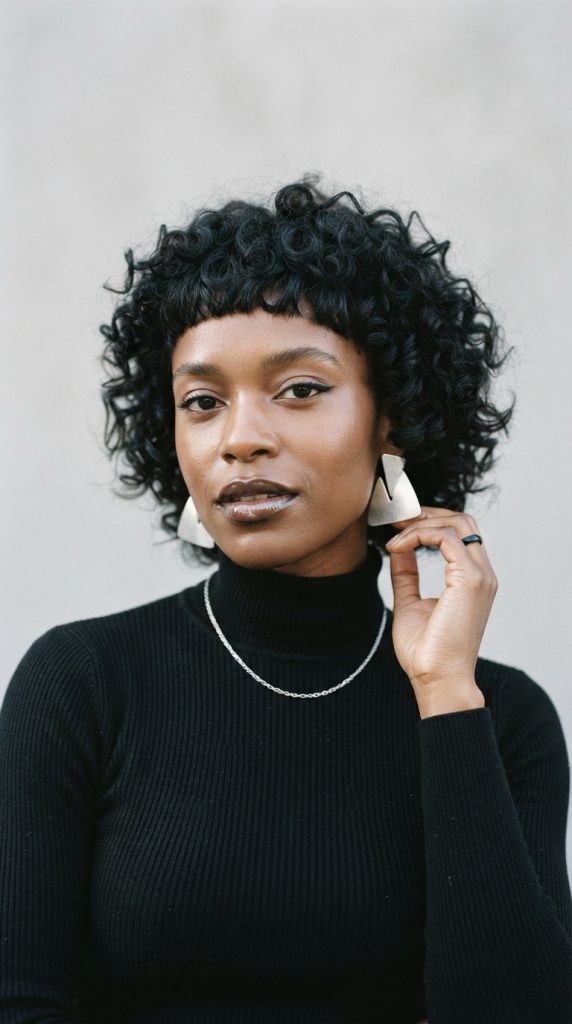
6. The Micro Fringe Curly Shag
A micro fringe adds a bold, modern twist to traditional layered styles. Short, choppy bangs resting well above the eyebrows highlight your brow line and eyes while creating a striking contrast with longer curls.
This look blends alternative style with practical texture management. It keeps hair out of your face while maintaining structural crown volume.
Finding the Right Fringe Length
Work with your stylist to account for natural shrinkage. Curls bounce up significantly when dry. Micro bangs should be cut longer when wet to avoid making them too short.
How to Style Micro Bangs
- Apply a firm-hold curl gel to damp micro fringe immediately after washing.
- Use a fine-tooth comb to position short bangs smoothly across your forehead.
- Lightly press a microfiber towel over bangs to remove excess moisture without disturbing shape.
- Let fringe air-dry completely before touching or fluffing it.
Simple Upkeep Strategies
Trim your micro fringe every four to six weeks to keep length crisp. You can touch up the rest of your style with dry shampoo at roots for added texture.
This high-impact adaptation among shag haircuts is great for confident individuals with medium to tight ringlets. It adds instant style to any outfit with minimal daily effort.
7. The Bottleneck Shag for Fine Curls
Fine curls often struggle with flat roots and stringy ends. The bottleneck variation uses narrow layers around temples that widen toward the jawline. This forms a flattering shape that boosts perceived density.
This subtle layering prevents fine strands from looking sparse. It encourages root lift throughout top sections.

Layering Choices for Fine Hair
Avoid aggressive razoring on fine strands. Razoring can thin out ends too much. Request blunt point-cutting on small sections to build weight and volume along edges.
Root-Boosting Styling Steps
- Apply a light volumizing mousse directly to damp roots across top of head.
- Work a lightweight liquid styling serum through rest of hair.
- Flip head upside down and diffuse roots first on low heat to build height.
- Flip right-side up and finish drying mid-lengths and ends with minimal touching.
Daily Density Hacks
Fluff root area gently using a wide-toothed pick to lift hair away from scalp. Avoid touching ends too much to prevent disrupting curl pattern and creating frizz.
This tailored approach within shag haircuts is ideal for fine, low-density wavy and curly hair types. It adds lift, shape, and thickness without compromising overall length.
8. The Coily Mullet Shag for Type 4 Hair
Type 4 coils thrive with structured cuts that celebrate tight spring and dense volume. The coily mullet combines short side layers with height at the crown and a full, rounded back shape.
This style removes heavy weight from sides while showcasing density and beauty of tight coils.

Working with Natural Shrinkage
Your stylist should shape coily textures while hair is completely dry in its natural state. This ensures cut follows actual curl pattern and spring-back rate.
Step-by-Step Hydration and Definition
- Apply a rich leave-in conditioner to freshly washed, damp coils.
- Layer a moisturizing curl butter over top using shingling method on small sections.
- Smooth a firm-hold gel over shorter side sections to keep them neat.
- Hood-dry or air-dry fully to set shape and lock in moisture.
Overnight Care Routine
Protect tight coils by applying a light oil to scalp and wrapping side layers with a satin scarf. Use a bonnet over top and back to keep shape intact while you sleep.
This protective option within shag haircuts works wonderfully for dense Type 4 textures. It highlights natural curl pattern with built-in shape and easy maintenance.
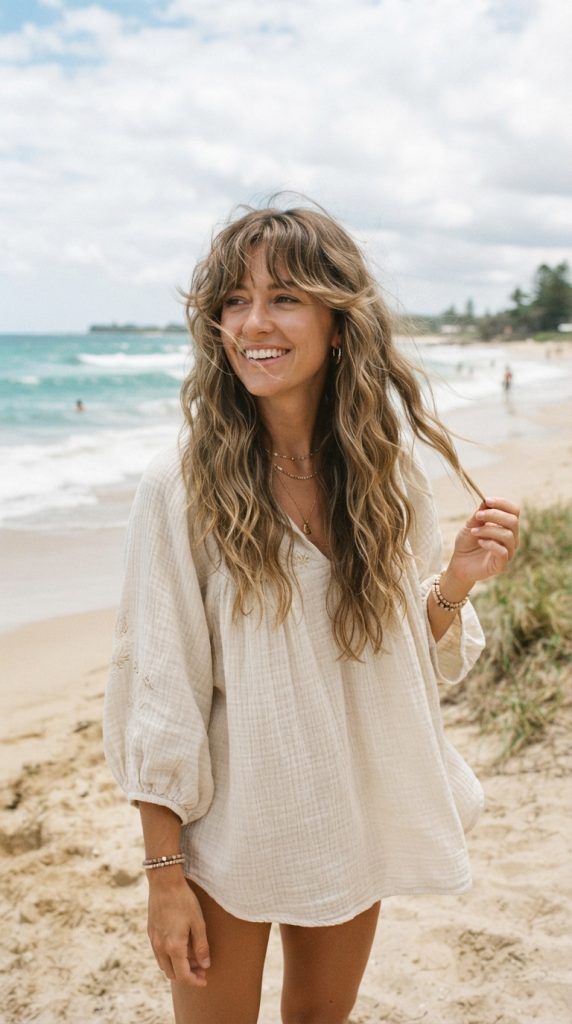
9. The Deconstructed Wavy Shag
Type 2 waves often fall between straight and curly, making them prone to losing shape. A deconstructed cut uses loose, soft layers to bring out natural S-curves without requiring heavy styling products.
This style emphasizes soft movement. It creates a casual, effortless look that naturally holds shape throughout the day.
Cutting for Natural Waves
Request slide-cutting techniques to create soft, piecey movement through ends. This allows wavy strands to bend and curve naturally without looking blocky.
Easy Waves Styling Process
- Spray a salt-infused curl tonic onto wet hair from mid-lengths to ends.
- Scrunch hair upward in sections, holding each scrunch for a few seconds.
- Twist random two-inch sections around finger to encourage uniform wave formation.
- Air-dry completely, then gently scrunch out crispness with bare hands.
Refreshing Soft Waves
Mist dry waves with a light leave-in conditioner spray. Gently scrunch from bottom up to reactivate natural wave pattern without weighing down fine strands.
This low-maintenance option within shag haircuts is ideal for loose, soft waves needing a gentle boost. It creates a carefree look working well for everyday wear.
10. The Asymmetrical Curly Shag
For a modern, creative look, an asymmetrical cut offers unexpected lines and dynamic shape. One side is kept shorter and piecey, while other flows into longer, cascading layers.
This style draws attention to facial features. It adds an artistic touch to natural texture.

Balancing the Silhouette
Your stylist should carefully balance weight distribution so shorter side supports longer layers gracefully. Crown remains textured to tie both sides together seamlessly.
Styling an Asymmetrical Shape
- Work a defining gel through clean, wet hair, focusing on longer side first.
- Use a styling brush to shape and direct longer face-framing curls.
- Apply a light pomade to shorter side, smoothing it down or finger-coiling for texture.
- Diffuse on low airflow, directing longer side forward to highlight diagonal line.
Maintenance and Trim Schedules
Schedule trims every six to eight weeks to keep asymmetrical lines clean and intentional. Use a light sheen spray on styling days to keep both sides glossy and soft.
This striking choice among shag haircuts suits adventurous individuals with medium to thick curl patterns. It transforms natural texture into a modern, eye-catching shape.
Mastering Nighttime Care for Layered Curls
Preserving shape and definition overnight saves time during morning routines. Textured layers require specific nighttime protection to prevent friction, flat spots, and frizz.
When you sleep without protection, pillowcase fabrics absorb natural oils from hair fibers. Rough cotton threads disrupt curl alignment, causing tangle formation and crown flattening.
+-------------------+-----------------------------------+-----------------------------------+
| Protection Method | Best Hair Types                   | Key Benefits                      |
+-------------------+-----------------------------------+-----------------------------------+
| Pineapple Updo    | Medium to Long Curls              | Protects crown length & volume    |
| Silk/Satin Bonnet | Short Curls & Micro Bangs         | Prevents friction across layers   |
| Satin Pillowcase  | All Textured Hair Types           | Retains scalp moisture & shine    |
+-------------------+-----------------------------------+-----------------------------------+
Step-by-Step Overnight Routine
- Gather hair loosely at very top of head using a soft silk scrunchie.
- Avoid wrapping scrunchie tightly; keep loop loose to prevent denting crown layers.
- Cover hair with a high-quality silk or satin bonnet.
- Sleep on a satin pillowcase for extra protection if bonnet slips during night.
Seasonal Adjustments for Your Cut and Routine
Weather changes directly impact how natural textures perform. Humidity causes curls to swell and expand, while cold winter air strips moisture, leading to brittle ends.
Adapting product choices through changing seasons keeps layers defined, bouncy, and hydrated year-round.
Summer Anti-Humidity Protocol
High humidity causes cuticle layers to absorb atmospheric moisture and swell outward.
- Switch to anti-humidity gels containing film-forming polymers.
- Seal finished styles with lightweight oils like argan or jojoba.
- Avoid heavy glycerins that pull excess moisture from humid air into hair shafts.
Winter Moisture Retention Protocol
Dry indoor heat and freezing winds strip water content from fragile curl strands.
- Incorporate rich deep-conditioning treatments weekly.
- Use heavier cream-based leave-in formulas under styling gels.
- Diffuse on low or cool settings to minimize thermal stress on dry hair.
Product Ingredient Breakdown for Layered Curls
Selecting correct product ingredients ensures long-term hair health and optimal layer spring. Certain ingredients coat hair shafts heavily, weighing down short crown layers over time.
Learning to read ingredient labels empowers you to build routines supporting natural curl elasticity.
Pro Tip: Look for water-soluble ingredients that wash out easily without requiring harsh, drying sulfates.
Key Ingredients to Look For
- Aloe Vera Leaf Juice: Provides lightweight hydration that expands curl bounce without adding weight.
- Hydrolyzed Silk Protein: Strengthens curl elasticity and fills microscopic gaps in cuticle layer.
- Flaxseed Gel Extract: Offers flexible, touchable hold while defining layered curl clumps.
- Shea Butter (in moderation): Excellent for sealing ends in high-porosity or Type 4 textures.
Ingredients to Avoid
- Heavy Non-Soluble Silicones: Cause product buildup, flattening crown layers over time.
- Drying Alcohols (Isopropanol): Strip natural oils, creating frizzy, brittle ends.
- Synthetic Heavy Waxes: Seal out moisture, preventing long-term hydration absorption.
Frequently Asked Questions
How do I know which variation suits my face shape best?
Round faces benefit from vertical volume at crown and longer side layers, making classic or long layered styles ideal. Oval faces suit almost every shape, including bold choices like micro fringe or short bobs. Square jawlines look softer with wispy curtain bangs, while heart-shaped faces balance well with short bobs adding volume near jawline.
How often should I trim my layers?
To maintain shape and keep ends healthy, aim for a trim every eight to twelve weeks. If you have shorter fringe styles, like micro bangs or curtain bangs, you may want quick bang trims every four to six weeks to keep them at your preferred length.
Can I get this cut if I have fine, thin curls?
Yes, absolutely. Internal layering removes weight from ends and transfers it to crown, making fine hair look fuller and bouncier. Request point-cutting instead of heavy razoring to keep ends looking thick and healthy.
Will getting short crown layers cause my hair to poof out unmanageably?
Not when executed properly by a dry-cutting curl specialist. Strategic layering removes internal bulk, allowing curls to nest inside each other rather than pushing outward into an unwanted pyramid shape.
How do I preserve volume on day three or day four hair?
Use a wide-toothed metal or wooden hair pick at root level. Insert pick near scalp and lift upward one inch without pulling through ends. Combine this with a dry texture spray at crown for instant lift.
Leave a Reply